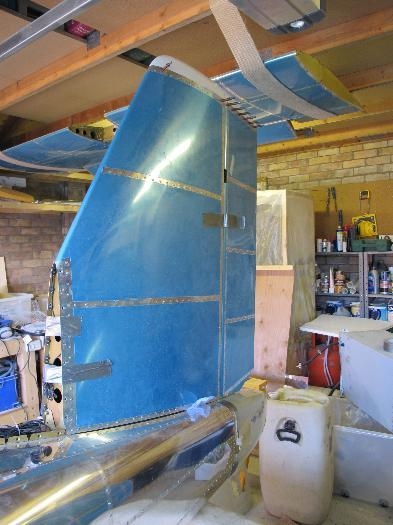
Picture 1 shows the tail from the front. I have not screwed on the cover that goes at the front bottom of the fin as this is not necessary to work on the fairing.
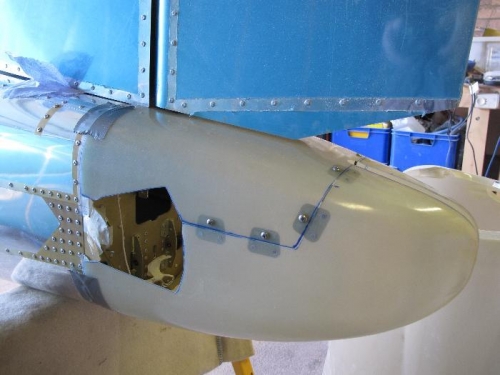
Picture 2 shows the fairing held in place with duck tape with the rudder attached. The rudder post initially fouled the cutout in the top fairing half. I filed a bit off the cutout until the rudder moved freely from stop to stop. It also clears the top of the fairing by the required 1/8 inch. Final job is to drill and cleco two pilot holes (top and bottom) where the fairing attaches to the fuselage. This establishes the vertical alignment. Horizontal alignment comes later when the tailplane is attached.
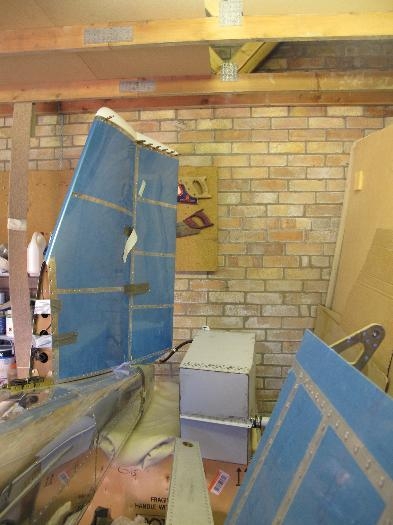
Picture 3 shows the plane pushed back as far as it will go so that I can close the garage door. There's only an inch or so of clearance back and front.