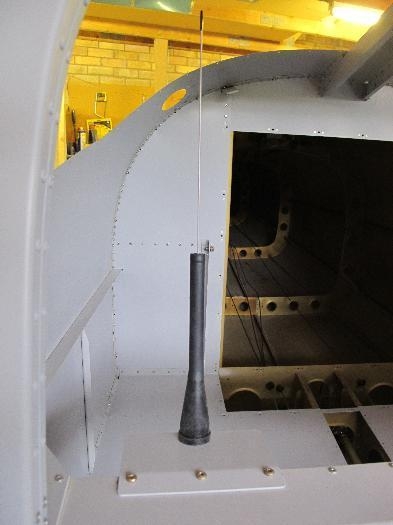
There's quite a lot of work to the ELT. First job is to install a mounting plate for the aerial behind the passenger seat. The instructions at P 42-15 Step 1 are "terse". You need to drill out three rivets in the Mid Fuselage Brace, enlarge the holes, then drill and countersink #40 holes for nutplates. That's the easy bit. The tough bit is installing the nutplates, as you cannot get at the back of them to hold them in place for riveting. After a lot of fiddling, I found a way to use safety wire to pull the nutplates into place, insert a screw to anchor them, and then pull the rivets. See Picture 1.
Picture 2 shows the ELT in place. There's quite a lot of work with terminators/connectors for very thin wires. Worst bit is securing an earth strap behind the unit. This involves grovelling about in the back of the aeroplane. I thought I had finished in the back, apart from the wretched tank, that's why I had riveted the turtledeck in place. I had not reckoned on the ELT. So don't do the turtledeck until the ELT is in.
All in all it's a bit of a mess of wire, and I am bothered that it will be so easy to snap these when fitting the right wing pin. I'll probably find a better way to secure all of this stuff.