Brief Description: Installing the transponder and the radio
I had to fix the screw problem first. By removing all of the screws, I could remove the AV Control Board with the left front panel still attached by the recalcitrant screw.
With the assembly on the bench, I could get pliers in to hold the hex post while I undid the screw. Seems whatever holds the hex post in place had sheared off. These are obviously a bit fragile. I'd recommend screwing the front panel into the AV Control Board on the bench, wherever screws do not also go through the aircraft structure. That way you can hold the hex posts with pliers, or a spanner. If any screws are stiff, I suggest the hole should be tapped. Some work with superglue and the tap fixed my problem and allowed me to reinstall the assembly, hopefully for the only time.
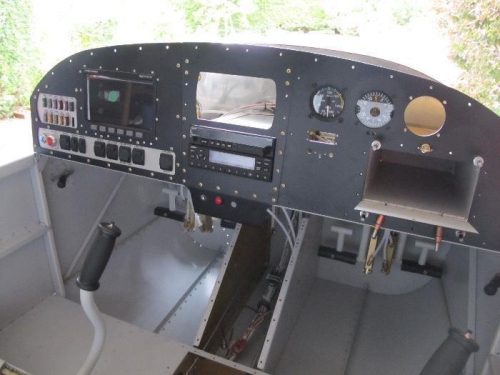
Picture 1 shows the transponder and radio in place. The units must be removed from their mounting trays so these can be screwed into place. This is not easy. I needed to use a flexible shaft on a screwdriver socket set to get at the screws inside the trays.
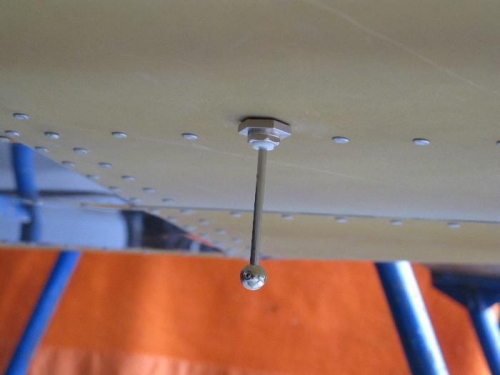
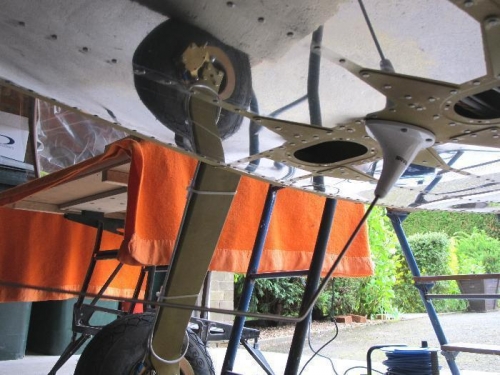
Picture 2 shows the transponder aerial at the front of the fuselage. And Picture 3 shows the radio antenna further aft. I thought this would be really difficult to get the nuts on the mounting plate. Indeed it was a bit fiddly, but just about accessible through the access panel hole shown.
I also trial fitted the ASI and compass on the right panel, as seen in Picture 1.