
|

|
|
|
Greg's RV-9A Builder Site
|
Date: 5-1-2009
|
Number of Hours: 5.50
|
Manual Reference:
|
Brief Description: Cowl work, FAB work, control cables
|
|
Started out by laying up 3 layers of fiberglass to extend the nose section over the foam mold I cut yesterday. It was a huge mess, trying to get the layers laid in that small area, plus, I wanted to darken the resin, so I used a little black resin dye. Reminded me of using proseal in the fuel tanks. Anyway, after I got it all laid up, and put some absorbent cloth to get the extra resin, I inflated a balloon, and made a baloon animal like twist in it to get it to the figure 8 shape, then I forced the small end through the cowl snorkle and held it in place with some vice grips. The weight of the grips hold the balloon tight against the freshly laid up glass, until it cures. See the pictures. Then while that was curing, I made the air bypass door for the FAB. This is for the very unlikely event that I fly into icing, and the snorkle freezes up. The engine otherwise wouldn't get air, and would stop. If this happens now, I pull on the cable, and a little door on the bottom of the FAB opens up and air from the engine compartment goes into the engine. Performance will be down, but at least the engine will continue to run. I also trimmed the airbox, and then riveted it together, and put a couple layers of glass on it too. Went back later in the afternoon and found all the hardware for the throttle, mixture, prop, heater, FAB bypass and fuel bypass cables, and started installing them. Figured out the fuel bypass support location and firewall/panel penetrations. Then attached the hardware on all the cables, except the heat - which will be easy, but must wait until I have the panel. The hole for that cable should be drilled by Stein anyway. Then I started figuring out the supports for the throttle and mixture cables. Fabricated the supports, and drilled the 7/16th holes for both of the cables. I had to bend the mixture cable support slightly, so I put it in the vise and hammered on it. I clamped it in position, and with the angle drill, I'll drill a couple of rivet holes... tomorrow. What I don't know
|
|
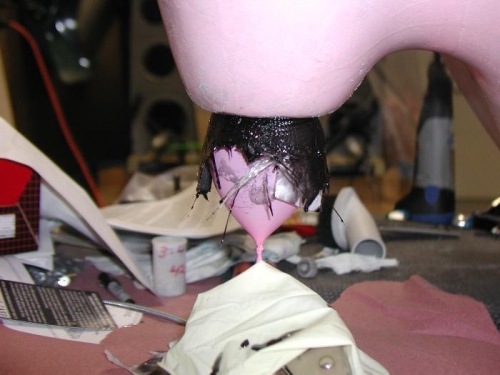
Ballon out the front...
|
|
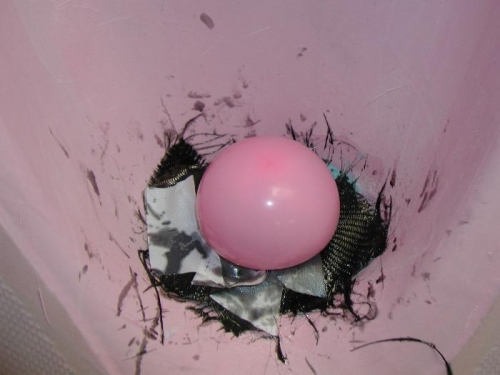
and from the back....
|
|
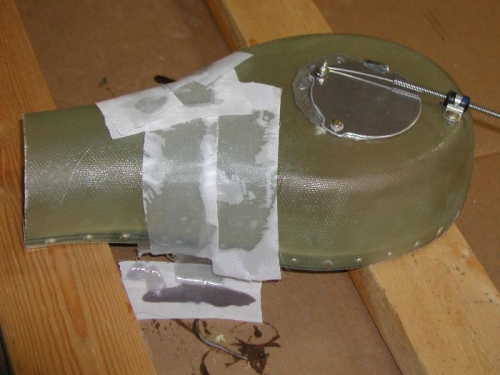
Filling the slits, note bypass door
|
|
|
|
|
|
|
|
|
Copyright © 2001-2024 Matronics. All Rights Reserved.
|