
|

|
|
|
Greg's RV-9A Builder Site
|
Date: 3-10-2008
|
Number of Hours: 5.50
|
Manual Reference:
|
Brief Description: Aileron Trim
|
|
Finished up installing the aileron trim. If you are reading this before putting in your forward push tube, put the aileron trim in first! It was very tight working in there with the forward tube installed. I disconnected it, but didn't want to remove it because it was difficult fitting it in place with both ends riveted on already. Also, the little tabs that connect the safety wire to the control assembly could have been put on earlier, which would have made it easier too. I already had the bolts in place, with all the little washers in between. So, I used one of the control surface fitting "bolts" which are just thick nails bent about 100 degrees, threaded on one end, pointed on the other to slide in place of the bolt as I removed it, keeping the washers and bearing in place. Then, I put the metal tab on, and replaced the bolt, pushing out the fitting bolt as I went. After finishing the trim, I crimped the connecter on the end of the aileron autopilot servo ground wire, and screwed it in place. Finally, I installed an adel clamp in the center section to hold the fat ground wire away from the forward elevator push tube.
|
|
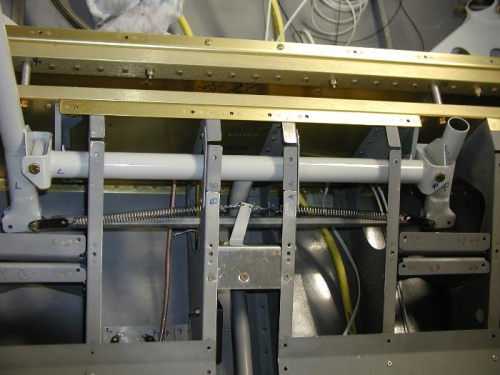
See the springs?
|
|
|
|
|
|
|
|
|
Copyright © 2001-2024 Matronics. All Rights Reserved.
|