
|

|
|
|
Greg's RV-9A Builder Site
|
Date: 2-8-2008
|
Number of Hours: 5.00
|
Manual Reference:
|
Brief Description: Battery Bracket
|
|
Finished up the battery bracket by fabricating the right side stiffener that goes behind the floor stringer to attach the bracket to with AN-3 bolts and platenuts. Then I deburred and dimpled and countersunk where appropriate. Then I cleaned and primed, and then put a couple coats of paint on there. Looks good, hopefullly, it'll work good. I only have one battery at the moment, but if you can't tell, it holds two of them. In between coats of primer and paint, I pulled the remainder of the right wing's conduit through the holes. Easy to say, tough to do. Then, I started on the left wing. I am trying a little different method this time, since pulling it through all the holes at once took forever. I think it was still warm out when I started pulling the right wing's... Then I laid out my plan for the battery access door. Finally, I put a coat of paint on the seat bottoms. They look good, sort of the color of the primer, but gloss. Looks like the inside of most of the military planes I've flown, but nicer!
|
|
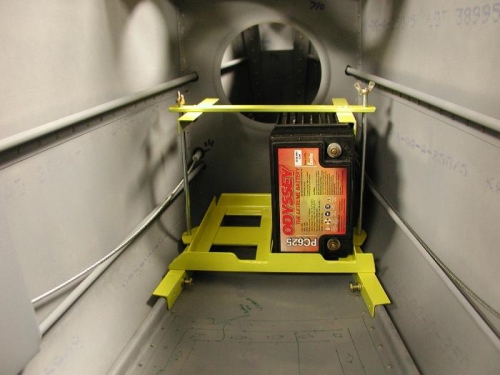
Completed Battery bracket
|
|
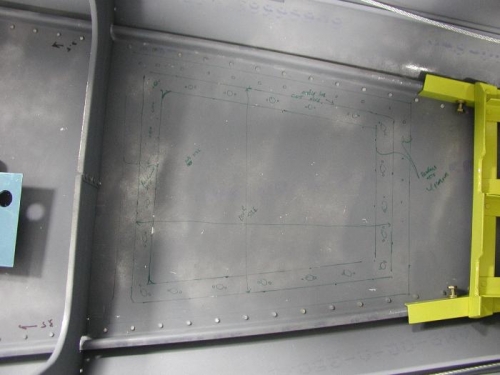
Plan for access door
|
|
|
|
|
|
|
|
|
Copyright © 2001-2024 Matronics. All Rights Reserved.
|