Brief Description: Floor pan installation and Instument pod
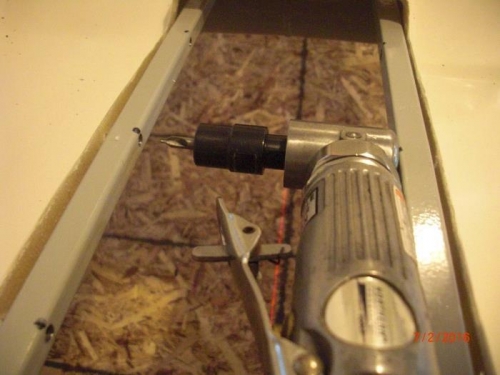
Continued to attach the floor pan to the air frame today.Watched BJ's video on how to attacht the floor pan and the instrument pod to the square tubing in the front of the airr frame.BJ suggests to drill the 8 3/16" holes into the two 1/2" square tubing with the long drill provided by Eagle R&D. I just did not like the fact that these holes could not be drilled at a right angle. I used a small angle die grinder and installed a short 3/16" center drill. After marking the location of all 8 holes on the square tubing, I drilled all eight holes using the center drill. Next I started to clean up the instrument pod a bit more to match its contour to the floor pan. I located my lazer level in front of the airframe to lay a verticle line accross the centerline of the pod extending it to the middle of the head plate. This is much easier than using a string. Next will be to drill the holes to attach the instrument pod to the floor pan/ square tubing.
A center drill in a die grinder allows for drilling holes perpendicularly
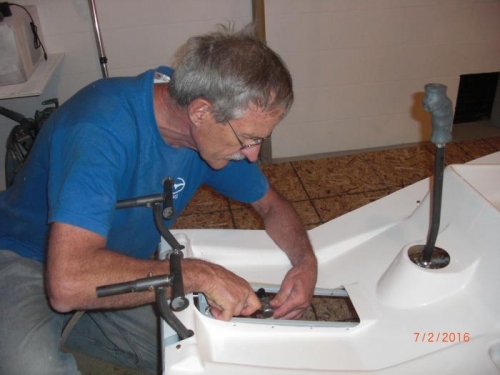
Me drilling the last hole through square tubing and through floor pan