Brief Description: Left Elevator - 08 - Trim Tab Hinge & Leading Edge
- Placed trim tab (with hinge drilled and clecoed to the trim tab) on the left elevator. - Aligned it and final drilled it to the spar and skin (E-606 to E-701). - Took the trim tab and hinge off. - Deburred, cut hinge to size, radiused ends and dimpled all holes. I decided to dimple the holes in the hinge and spar instead of countersinking. I thought that the material was too thin to take anymore away. - Rolled the leading edge of the left elevator. I rolled the heck out of it and it still didn't quite line up right. The skins overlapped so I know they were rolled enought but it looks as though the final 3/4" needs to be bent and no matter how much I rolled it, it wouldn't bend. Just like the other side, I duct taped and clecoed the piece together. I'm hoping that if the skins are forced into that shape for a period of time they will become formed (it's a theory, not a great one but still it's a theory, I'll let you know how it turns out). - Put the completed trim tab on the elevator and re-checked it for alignment. The trim tab spar moved a little during riveting, so it's a little off but it's close enough for government work.
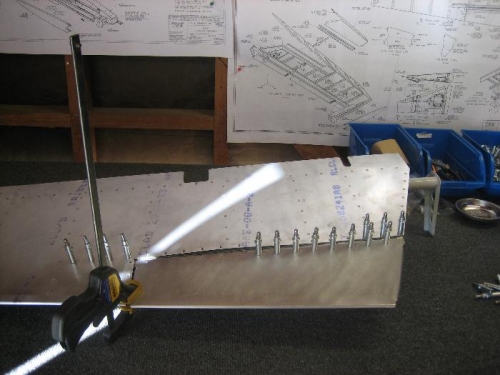
Putting the trim tab on the elevator to check for alignment.
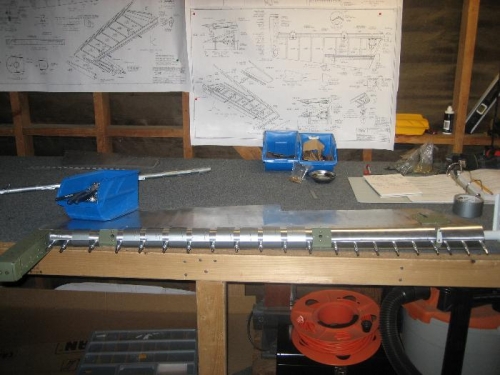
Left Elevator leading edge rolled and clecoed together.
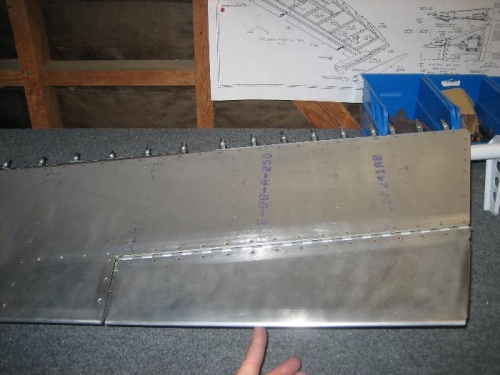
Checking Trim Tab for alignment and movement. Works great lasts long time.