
|

|
|
|
Greggs RV-4
|
Date: 12-28-2015
|
Number of Hours: 3.00
|
Manual Reference:
|
Brief Description: F419 deck plate initial fit, looked at canopy rail
|
|
Decided today was the day to tackle the F419 deck plate. It is really straightforward, and not difficult. First and foremost, and I cannot stress this enough is to ensure the fuselage is STRAIGHT and not twisted. Without this plate in place, the fuselage has a lot of "play" in it. Once this plate is drilled to the fuse, you are committed. I was amazed at how much this part stiffened the fuselage. It removes nearly ALL of the torsional movement that there is before it's installed.
To ensure the fuse was straight and level with no twists, I set my digital inclinometer along the upper longerons at about 5 stations, from the firewall back to where the deck plate goes. In my case, the way I had the fuse in the cradle, it needed a little shim (foam) under the spar box on the left side. Once the foam was in place, the inclinometer read within 0.1 degree or better from front to rear. Close enough :)
I notched around the .25" stiffener bars/mounts for the stab, and the deck plate laid down very well on the longerons. After drilling the deck plate, I put the canopy rails in place against the panel to see how it would look.
|
|
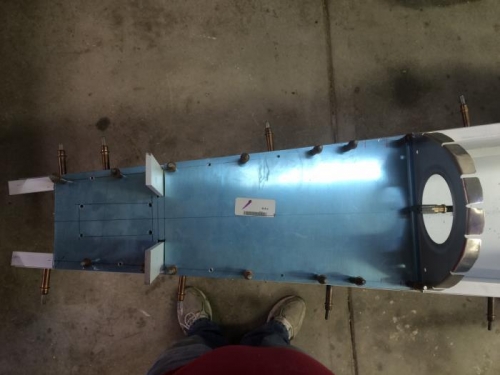
Initial fitting of the F419 deck plate.
|
|
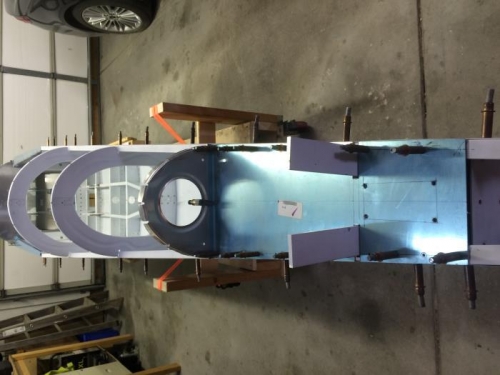
Deck plate with F410A bulkhead.
|
|
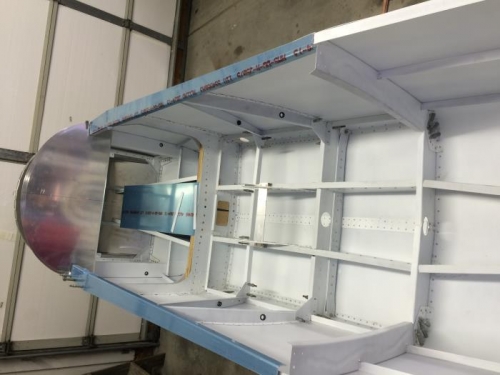
Canopy rails in place for show.
|
|
|
|
|
|
|
|
|
Copyright © 2001-2024 Matronics. All Rights Reserved.
|