
|

|
|
|
Greggs RV-4
|
Date: 1-5-2012
|
Number of Hours: 2.50
|
Manual Reference:
|
Brief Description: Drilling LH aileron componenets to skins
|
|
I spent a few minutes out in the shop yesterday, to locate and drill the skin stiffeners for the other side of the skin. I have no pictures for that, and I just added that to today's entry. Today, I got a lot done. As my aileron skin is not prepunched, I had to figure out a way to match drill the nose skin to the main skin. Picture number 1 shows the method that I used. The holes in the nose skin WERE prepunched, and were therefore in a perfect straight line. My spar had a very slight bow in it, and using the nose skin as a template would allow me to ensure a straight spar. I located and drilled a hole at each end, and then clecoed the nose skin to the main skin and table. After that, easy.... Just use the nose skin as a template to drill the other holes. Everything clecoes together, and is perfectly straight. In picture 2, you can see that all components have been driled. Time to peel plastic, deburr and dimple. Hope to finish this aileron this weekend.
|
|
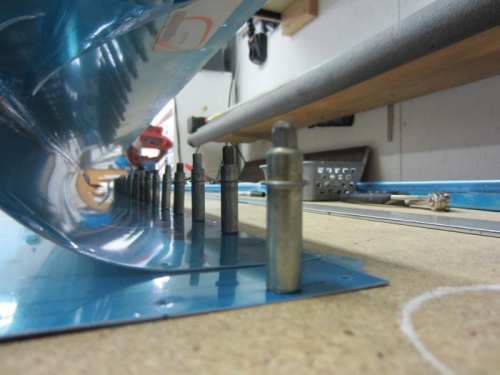
Using the nose skin as a drill template
|
|
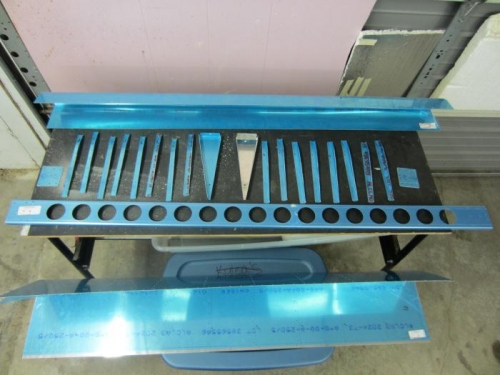
All components ready to deburr, dimple and prime
|
|
Just following along...
|
|
|
|
|
|
|
|
|
Copyright © 2001-2024 Matronics. All Rights Reserved.
|