
|

|
|
|
RV-6A - GBC
|
Date: 10-1-2011
|
Number of Hours: 4.50
|
Manual Reference:
|
Brief Description: Drill, ream and bolt engine mount
|
|
Preparations for drilling the holes to attach the engine mount has taken months, thinking about the process. There is some flexibility in the entire mount, but only on SOME of the points. There is NO flexibility between the center bottom holes, Lt and Rt of the nose gear tube. These two holes MUST be almost exact and the other two bottom holes are inflexible from left to right sides. These two outboard points can flex slight UP & DOWN but the distance across the bottom four holes is fixed by the mount. Any adjustments must be made in DRILLING the holes.
The 1/4" pilot holes were used to test the fit, and rigid alum tube sleeves were inserted in the mount holes to align the mount. It was close enough to determine what drilling adjustments were needed.
I drilled the 'right' side center bottom, to 5/16" and reamed it to 3/8". Then determined that the 'left' side center bottom needed to be adjusted 1/16" further left, and drilled/reamed the 2nd hole. Then the outboard two bottom holes were adjusted slightly UP --- test fitting the mount each time. Then finally the top two holes were adjusted slightly UP. These slight adjustments minimize the preload stress on the mount. The installation of the bolts requires a little percussive assistance, but not much.
|
|
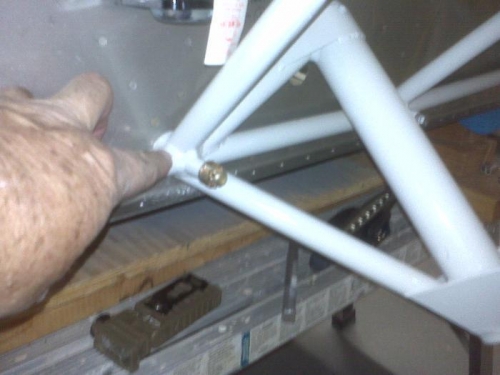
First hole drilled/reamed
|
|
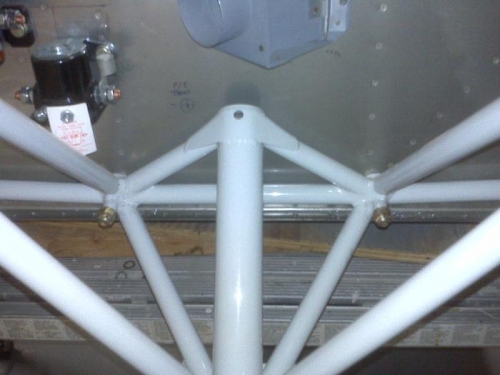
2nd hole, MUST be perfect
|
|
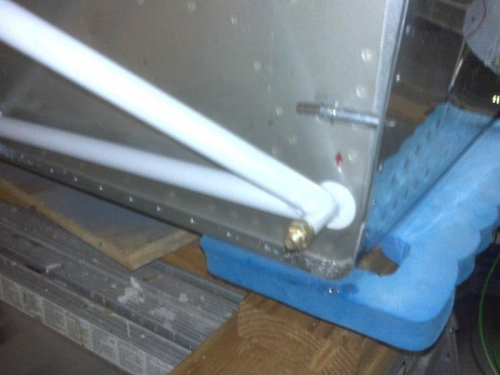
Lt & Rt lower corners, next
|
|
|
|
|
|
|
|
|
Copyright © 2001-2024 Matronics. All Rights Reserved.
|