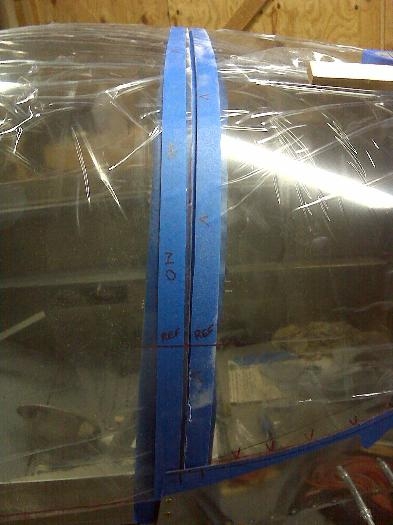
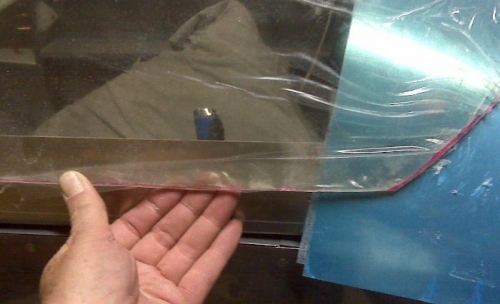
More trimming after the bid cut, little here or there. The front rt & lt corners are the 'high' points. Trimmed a little off each side, too.
Note in #1 that after the cut, the front portion of the bubble 'drops' lower as the trimmer is done, and this widens the gap at the top. Or, said another way the gap at the bottom is narrower. The latter is a better statement because the bottom of the aft end will be trimmed in a slight taper to re-align the edges as the forward end is adjusted (lowered).
The next step is to removed the plexi, clean up the edges, and go back to working on the canopy frame fitting. I'm now confident in the approximate fit of the plexi and see where some tweaking on the frame needs to occur during the final drilling and riveting. Since it's only drilled to #40, there is room to tweak as the holes are enlarged.
The plexi fitting was less scary than I had expected, thanks in large part to the many websites and builiders' logs available. Thanks to all the pioneers.