
|

|
|
|
RV-6A - GBC
|
Date: 1-14-2010
|
Number of Hours: 2.50
|
Manual Reference: Sect 9
|
Brief Description: Canopy hinges
|
|
The potential damage of a mistake in planning is small enough to take a risk and implement the plan. The cost of the replacing a few pieces that 'might' be drilled wrong is small, and nothing here is permanently damaged by an attempt. Time to move ahead.
After assimilating the instructions and making some calculations on how to position the canopy frame relative to the F-668 bulkhead, it boils down to a couple of simple requirements. The WD-616 weldment frame must be 5/8" from the F-668 bulkhead. That can be determined at EACH hinge independently, aligned with the 'top skin' (an imaginary element simulated by a piece of 3/4" .063 AL angle), then clamped and drilled to the F-646 brace. Then it is bolted through the AL block layer. Double-check the alignment of the hinge, clamp it tight and back-drill the UHM thin layer through the hinge pivot hole.
Then remove the AL layer, the UHM thin layer, add the thick UHM block, and back-drill on the drill press. All ready to install, and pin the right side. Repeat on the left side. Again, the alignment is relatively independent of other measurements if the 'top skin' and spacing for the hinge is right.
The canopy frame can then be adjusted further to tweak the cabin width, but the splice plate is used to fix the width. Flexibility in the WD-616 is substantial at this point.
|
|
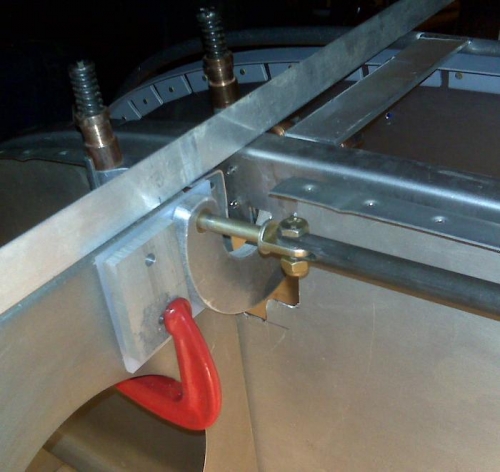
Lt - Clamped & ready to drill
|
|
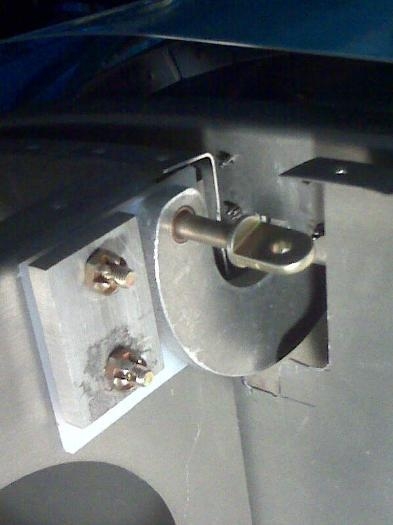
Lt - drilled and pinned
|
|
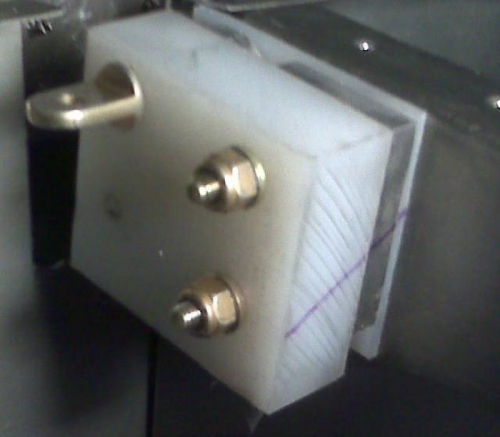
Rt - Back drilled & bolted
|
|
|
|
|
|
|
|
|
Copyright © 2001-2024 Matronics. All Rights Reserved.
|