Time consuming steps, care needed to match old & new parts.
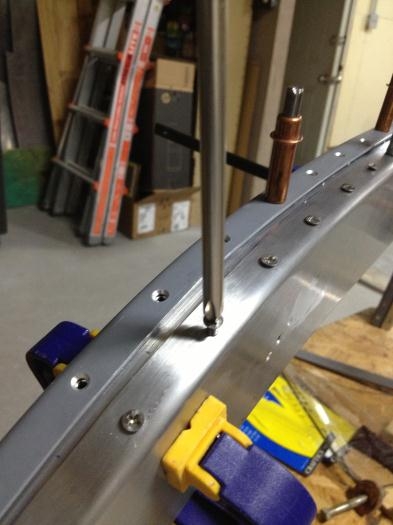
Worked on front edge of rear window plexi, scraped and sanded, then deburred both sides and countersunk the exterior of the #40 holes - by hand for #6 screws. Tested various methods of drilling plexi safely and tapping the rollbar for the screws. Frankly, it would be easier to disassemble and put nutplates on the exterior strap along the aft side. May use the heat gun to warm the plexi when enlarging the holes.
Even after tapping all the holes for attaching the plexi (rear window), I still need to drill alternating holes for rivets between the screws. The plans called for spacing of 1 1/2" between rivets, and alternate screws between that. Later instructions called for 2 1/2" spacing, which is logical, but it was too late for me.
I added four #8 nutplates on the aft side of the rollbar for attaching 'whatever' in the future. Maybe a wire grommet or ELT antenna wire, or power for a cabin light.