
|

|
|
|
RV-6A - GBC
|
Date: 9-19-2012
|
Number of Hours: 2.50
|
Manual Reference:
|
Brief Description: Canopy - Rear window & Rollbar
|
|
Removed plastic, deburred, dimpled, and countersunk the left side skin of the canopy frame and then put a little 'curve' on it to improve fit against plexi & frame.
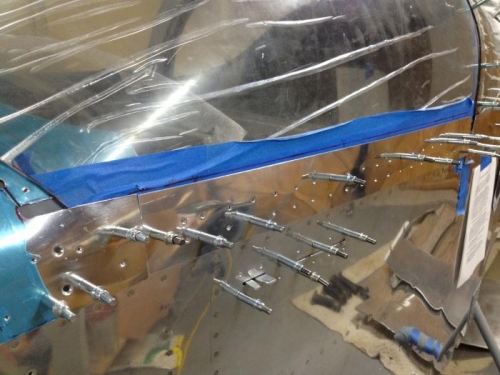
Slid the plexi forward on the canopy frame, disassembled the rollbar (not riveted) and secured the aft bow only to the rollbar attach brackets. Used hand clamps to hold the plexi against the bow, inserted the clecoes in the rear window to the fuselage skin. With a gap in the two sections of plexi was able to reach 'inside' and adjust the bow alignment better with the existing holes in the rear window. Then drilled a distribution of holes in the rollbar, so as to avoid progressively forcing the 'slack' to one side or the other of the plexi.
Drilled and clecoed the plexi, to secure the fit.
Then slid the tip-up section back to the rear window section. There is a near perfect mating gap in the majority, and 1/8th inch or less in the remaining areas. Without further specs to follow, no more material will be removed until necessary to allow the tip-up to open & close.
Next step will be to finish the rollbar assembly, match drill the #40 holes as spec'ed and tap the holes for #6 countersunk stainless screws. With the rollbar assembled there will have sufficient rollbar material thickness to tap well.
|
|
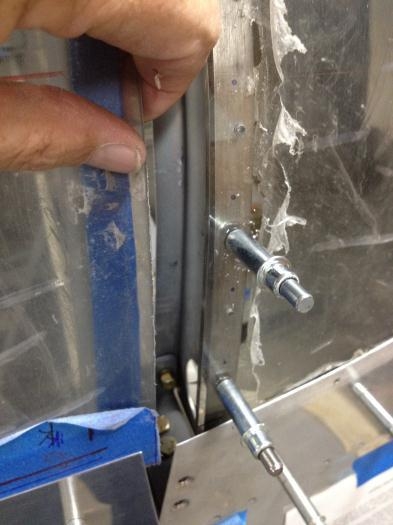
Lt skin - dimpled, countersunk
|
|
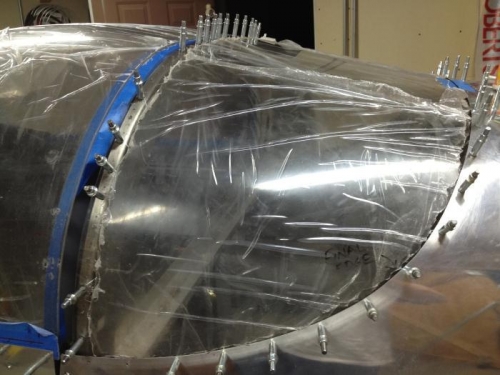
Aft half of rollbar secured
|
|
Rollbar match drilled to window
|
|
|
|
|
|
|
|
|
Copyright © 2001-2024 Matronics. All Rights Reserved.
|