
|

|
|
|
RV-6A - GBC
|
Date: 9-17-2012
|
Number of Hours: 3.00
|
Manual Reference:
|
Brief Description: Canopy - latches, drilled
|
|
Hard to believe the time it takes to do some tasks, and the fine adjustments needed to finish the proper fit & operation. This was true of adding the canopy latches, which are engaged when the canopy is 'locked' into closed position.
After moving the hole in the link mechanism yesterday, the 'hook' was observed to be less than 'fully engaged' when closed. The plan calls for opening a hole/slot in the bulkhead so that the point of the arm would be able to move into a fully engaged position, but the hole was too small and needed to be enlarged (filed). Will need to disassemble all of these components soon to paint the interior, and assemble with the 'specified fasteners' (not always the final version shown in the photos).
Clamped the latch pins on the aft side of the canopy bow, and worked through the drill sizes to the 3/16" final holes for AN3-6A bolts. Removal of the rollbar greatly facilitates the latch and canopy work for these tasks.
The tension on the whole latch mechanism will be derived from good weatherstripping under the canopy frames.
Ready to measure, mark and drill the canopy bow, or determine whether I will SikaFlex the whole plexi. I'm thinking of placing a metal strip over the aft edge of the tip-up, which covers and seals the gap between the canopy aft edge and the front of the rear window (and use screws as called in the plans).
|
|
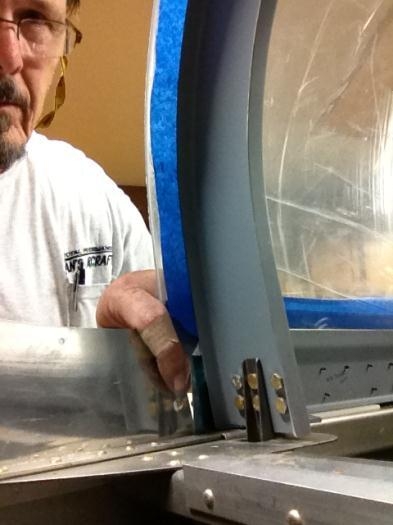
Left canopy latch
|
|
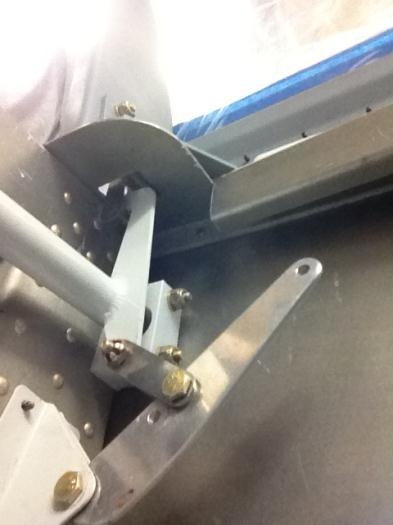
Fully engaged
|
|
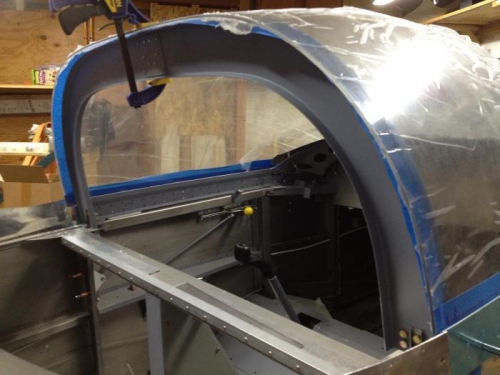
Aligned and ready to mark
|
|
|
|
|
|
|
|
|
Copyright © 2001-2024 Matronics. All Rights Reserved.
|