Brief Description: Control stick weldment - attachments
Started by locating and drilling out the 3/16th top attach hole of the F- control weldment mount and bolting the mount to the web of the wing spar attach plate - and installing the control stick weldment. With the weldment installed, it is possible to assure the pivot point and control of movement on the control stick. Marked the edges of a 4" sq 'box' on the flange, and adjacent seat rib. (Pilot and co-pilot sides.) After the top was drilled and bolted, the bottom brack hole was 'back drilled' to locate the matching bottom attach hole.
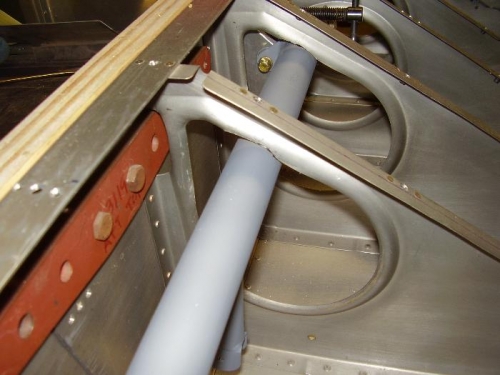
Then used a cut-off wheel to slice off a portion of the top flange (#1) to allow the control stick full forward motion. With the stick free to move, it became apparent the the seat ribs all interfered with the weldment. Marked the interference and progressively trimmed, tested, and trimmed more until the weldment was free to rotate 'up' into the lightening holes without binding. (#2, nipper marks visible on the trimmed area.)
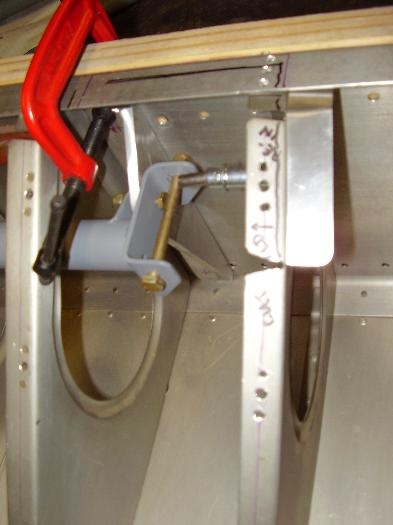
The co-pilot side shows the flange of the rib that will be trimmed off or bent down along the rib web. And, the 3/4" x 3/4" angle is clecoed to the right side of the rib to replace the 'lost' seat floor attachment points.