
|

|
|
|
RV-6A - GBC
|
Date: 2-3-2007
|
Number of Hours: 6.50
|
Manual Reference:
|
Brief Description: VS assembly & rivets
|
|
Lots of work, and pics. More on another entry.
Final drilled all VA components. Disassembled, etc., etc., etc.
Countersunk the doubler, deburred, dimpled, and riveted the spar. Deburred and riveted the forward spar and ribs. Used the C-Frame as a 'holder' for the Universal set, inserted upside down, then backriveted the doubler and hinges. Chose to put the manufactured head on the 'thin side' of the spar with the shop head on the 'outside' - same as the flush rivets. Not quite as 'pretty' but should be stronger according to theory. Exception - the hinge brackets are shop side 'in' with the manufactured head on the hinge side, the stronger surface.
There are three major components of the VS when ready for final assembly. 1) rear spar, 2) front spar & ribs, and 3) the skin. Each is completed separately, riveted, primed and ready to go. Then assemble the skin and front spar/ribs. This allows skin to be riveted. See phots that follow.
|
|
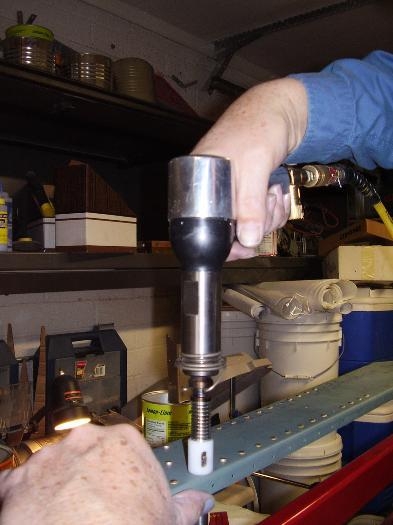
Backriveting spar hinge
|
|

Riveted skeleton
|
|
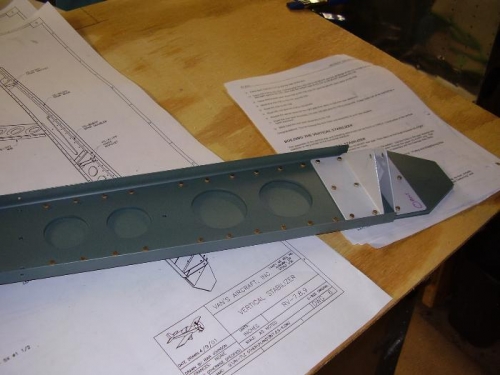
Spar finished
|
|
|
|
|
|
|
|
|
Copyright © 2001-2024 Matronics. All Rights Reserved.
|