Setup the left elevator and a straight edge to measure the trim tab dimensions. Used the back of the instrument panel for this, with the 90 deg flange on the bottom edge as a guide. The trim tab skin was a piece of .016 AL with a prebent traililng edge. Successive trimming of ends to get the size close. Fabricated a 2x6 hinged bender and used a 1/8" dowel to bend the trailing edge to spec. (Should have been 2x8) - will try it.)
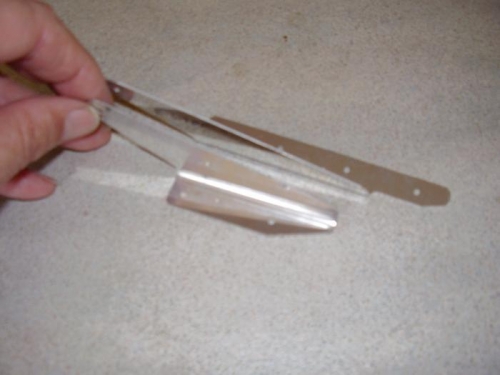
Decided to use the Orndorff approach on the trim tab 'ribs' - i.e., instead of bending over the ends to overlap and establish a 'rib' at each end, this will use a small fabricated rib rivetted into the ends.
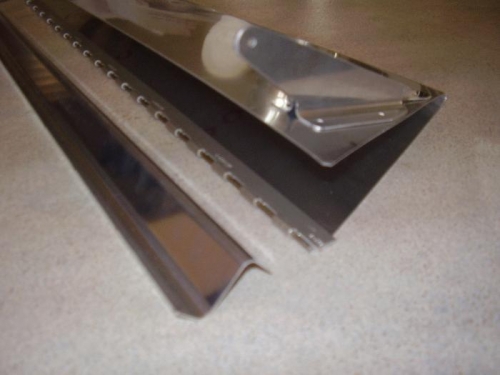
Located the prefabricated E-607 Trim Tab spar, removed protective plastic. Need to trim the ends slightly and probably use the hand seamer for alignment adjustments. Also located the prefabricated Trim Tab horns - E-617PP and E-618PP. Somewhere in the Preview Plans it was mentioned that the horn would be one of two methods; the E-617PP/618PP device or a E-617EEPP/618EEPP. The difference is manual vs electric trim. This QB is manual trim cable.
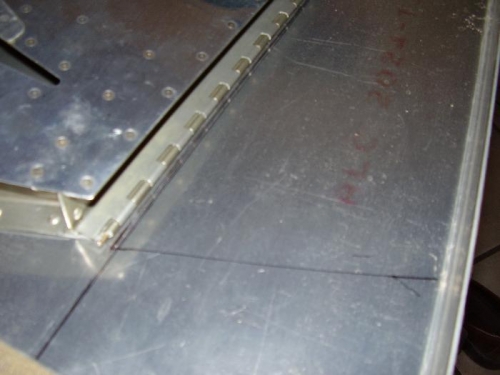
Found various hinges in the box of materials and found a hinge that matches the half already mounted in the left aileron.