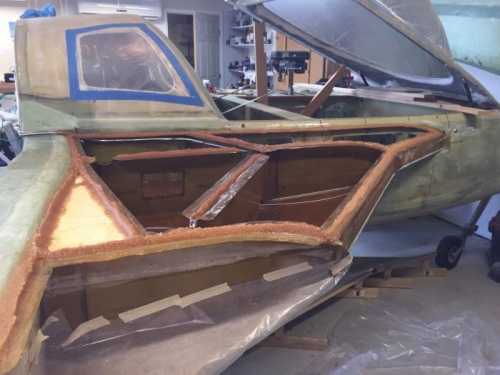
The task for today was to install the port side top skin on the strake and fuel tank. All of the peel ply on the top skin was removed and all binding surfaces were sanded. I also sanded the top of the baggage area to faciliate painting at a later time.
The t-hats were all sanded in preparation for bonding. Nancy and I trial fit the top and worked out a method to lower and align with the fuselage at the same time.
Using EZ Pozy resin 10 and 87 hardner, all bonding surfaces were wetted down with epozy. Then wet flox was stacked about 1/2" on all baffles and t-hats.
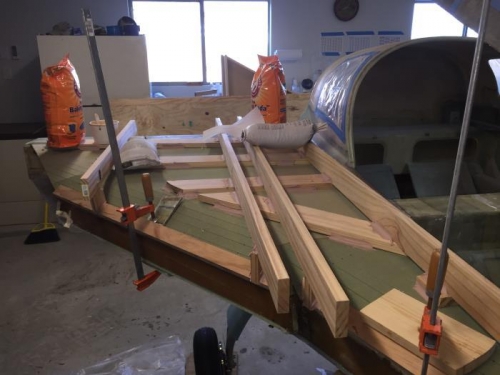
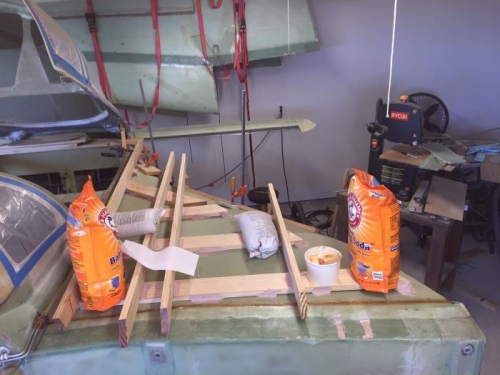
The SS ground strap and the ground wire was taped together and placed in the center to try to avoid any epozy droppings.The fuel tanks were checked one last time for any dust or debris. Nancy and I then lowered the top skin as we had practiced.
A clamp was used to pull it into the fuselage and two clamps were used to pull in the leading edge. Two 25 # lead bags and two 10# bags of baking soda were used for weight. The edges were then checked, excess was wiped away and holes were filled in. The baggage area was wiped down of all excess flox.