Brief Description: Installing the NC-6 Inserts and the NC-3 Hinges in
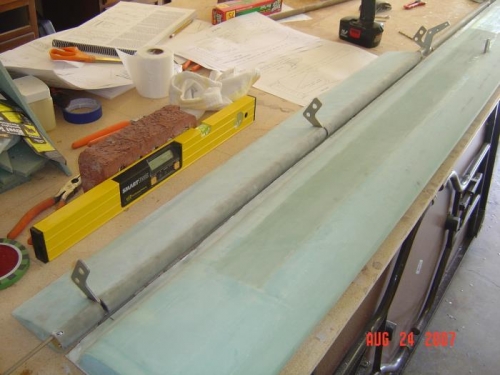
08/23/2007 I opened the hinge slots. Some foam was exposed, so I floxed that area. I floxed the corners of the end of the elevator and covered it with 1 ply BID. I took the center torque tube and attached it to the elevator control horns. 08/24/2007 I installed the NC-6 in the end of the torque tubes. I used a BSPQ-43 instead of the 44 specified. The 44 was not going to fit. I then set up the jigs necessary to attach the two elevators together. I drilled the hole for the bolt and then removed every thing to remove the drill shavings. I reinstalled and installed the NC-3 hinges with the hinge pun using 960-10L washers on either side of the NC-3. I then cut out the templates L,G, and J. I set the canard on the table and bondo'd it on some blocks to hold it in place. I bondo'd the L templates on the canard and then set the elevators in the template. I had a scare at first because I thought the drawing in the plans indicated that I should have a 0.2" clearance while in the jig. I had zero clearance. I then re-read the plans and found where it noted that the new L templates had zero clearance. I cut out the hing slots. I had to grind the NC-3's slightly on the outboard and middle hinges. I stopped when I had trouble getting the hinge pin to enter the hole at the NC-12A. 08/25/2007 To get the hinge pin in, I broke the canard away from the table and flipped the whole assembly over. The hinge pin went right in. I installed the center hinges and flipped the canard back over. I floxed in the NC-3 hinges. I used a syringe to inject the flox and moved the hinge around to encourage the settling of the flox without any air bubbles.