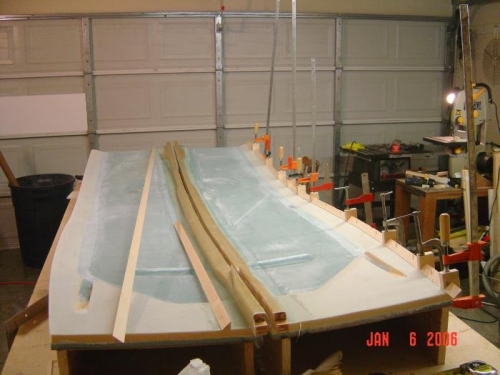
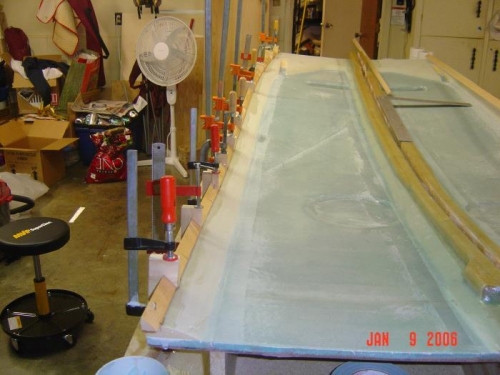
Brief Description: Installation of Lower Triangular Longeron
01/06/2006 Saw cut the pilot side lower longeron. Fashioned clamp jigs to hold the longeron in place. 01/07/2006 Saw cut the co-pilot side lower longeron. 01/09/2006 Taped the jig blocks with clear packing tape. Checked measurements one more time. Floxed the pilot side down and clamped. 01/10/2006 Checked measurements on the co-pilot side. The foam seems to be about .25" short (??) near the firewall. I kept the right dimensions in setting the lower longeron with the thought that I could add foam later, if needed. I floxed the lower longeron down and clamped. Cut out the 20" doubler for the pilot aft landing gear area. Notched to fit the curve and drilled nail holes. I measured the LWX and LWY positions. I had to trim the angle on LWY slightly to keep it parrallel to the upper longeron. 01/11/2006 Floxed the aft 20" lower longeron doubler into place. 01/13/2006 Layed up 1 bid in electrical conduit. Knife trimed and then floxed LWX and LWY. Layed up 1 ply Bid on corners.