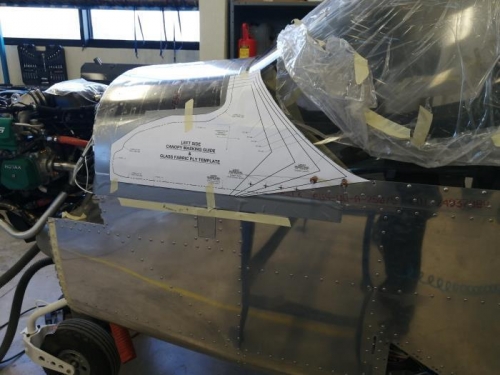
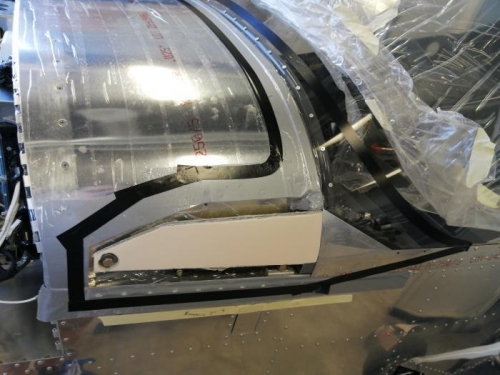
1: The Canopy foam was sanded to match the contourns of the fuselage. 2: The CANOPY MASKING GUIDE & GLASS FABRIC PLY TEMPLATES were cut and placed on the Canopy. 3: A strip of quality electrical tape was placed closely following the edge of the paper templates. then a bridge between right and left sides. Tape was used to bridge between right and left templates following the line traced by them. The templates were carefully removed and then set aside for their next use. A second layerof electrical tape was placed on top of the first layer. The entire canopy was masked-off above the aft of the double layer of electrical tape. 4. Ten plies from 9 oz./square yard of plain wave E-glass fabric were cut using a rotary cutter over a soft surface. The plies were cut at the specified size defined by the template. 5. The exposed canopy was sanded using 60 to 80 sandpaper. The canopy skirt where glass fabric will be bonded was sanded too. There were no shiny places left after sanding. all the sanding dust was brushed away. Mylar packaging tape was used to protect the F-1240-1 upper forward fuselage skin. A light coating of wax was applied on the surface of the Mylar tape.
4/16/20 3.5Hrs
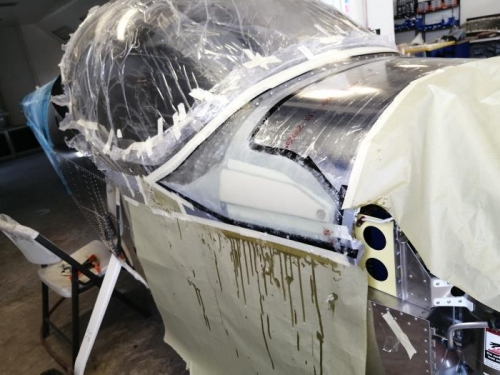
6. The thin edges of the C-1208 canopy foam were cut away along the upper edge. A paste made out from epoxy and thicken with flox was used to fill the created gaps. Only 7 resin pumps (7 resin and 7 hardener) were prepared for the next step. 7. the ply #1 was wet it out with epoxy resin. A coat of epoxy on thr porus of thre outer surface of the final-shaped canopy foam was applied. the ply # 1 was placed on the canopy.
8: 16 resin pumps(16 resin and 16 hardener) was prepared for this step. The plies were wetted out and placed successively until #5