
|

|
|
|
GA Aerospace’s Web Site
|
Date: 6-5-2018
|
Number of Hours: 8.00
|
Manual Reference:
|
Brief Description: Page 40-08/09/10
|
|
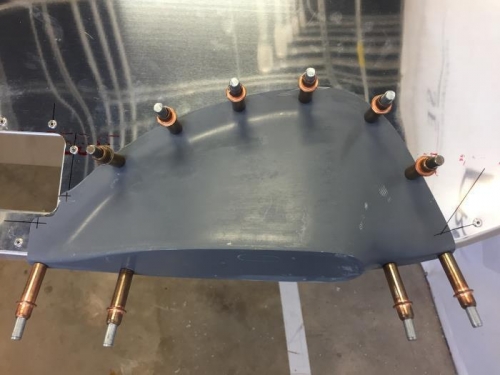
On **Page 40-08** we completed the following steps:
2. The main problem with this one is the last paragraph, match drill the three holes that are in the wing tip skin. Since our skin is already riveted, the best way to do this was to mark lines that were going to be extended to mark the exact center on the hole, after doing this we drilled #40 the three holes to make sure we were centered and to avoid damage to the skin, then we expanded the hole to #30.
3. To cover with wax, we first covered the skin with masking tape to avoid the wax touching the skin directly, instead of clay we used Play-Doh.
5. We used 70ml of resin and 30 drops of catalyst, we also used cab-o-sil instead of flocked cotton, just enough to make our mix thick, may needed more drops because it took a lot of time to set.
6. Pretty straight-forward we filled as shown in figure 1 (40-08) and cleaned what was pouring out. We were told to wait at least 30 mins before touching anything, after these 30 mins we removed the upper flange clecos so they didn’t get stuck.
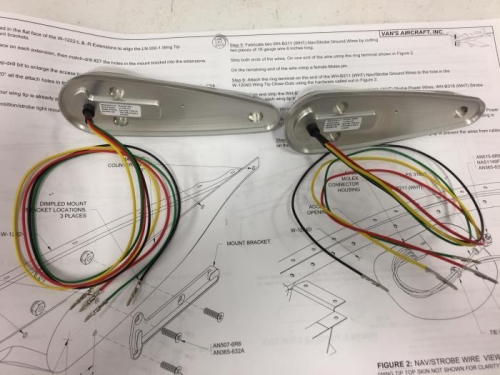
While we waited we completed the following steps on **Page 40-09**:
5. The molex pins needed are inside the box.
6. Refer to the picture taken, the head of the screw goes on the outside along with the washer, the terminal goes next on the inside along with the nut. The cable points to the center of the hole, as shown in Figure 2 (40-09).
On **Page 40-10**:
8. N/A.
|
|
|
|
|
|
|
|
|
|
|
|
|
|
|
Copyright © 2001-2024 Matronics. All Rights Reserved.
|