
|

|
|
|
GA Aerospace’s Web Site
|
Date: 3-10-2018
|
Number of Hours: 24.00
|
Manual Reference:
|
Brief Description: Pag 21 iS/U-02
|
|
Team: Alvaro Lopez, Juan Isiordia, Angel Rodriguez
Abscent:0
The team continued with step 8 of the page 21iS/U-02, first we adjusted the piece F-1207B with the other piece F-1207A using clecos, to then place nutplates K1000-08 and an rivet AN426AD3-3 for its fastening, then the piece was placed F-12107C together with the pieces already riveted, this was installed to the piece F-1207A with 3 rivets AN426AD3-3 and nutplates K1000-08, and then it was put in the piece F-1207B using 2 rivets LP4-3.
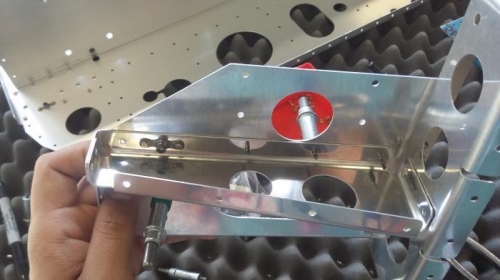
Continued with step 9 of the page 21iS/U-02, in which the assembly resulting from step 8 was assembled, together with the pieces F-01222-R1 and f-01223-R1, first the pieces were adjusted with squares, and then rivets LP4-3 were installed , for this step a manual POP riveter was used.
Step 7 of the page 21iS/U-03 was carried out, which part F-1206B was separated, cutting the shaded part as shown in figure 3.
We continued with step 1 of the page 20iS/U-05 in which the piece F-120P-L and R were riveted to piece F-01204-1, using rivets LP4-3.
continue with step 2 of page 20iS / U-05 in which the pieces F-1204-L-1 and R-1 were riveted to the skin F-01204D-1, only placing 8 rivets from the bottom as indicates on page 20iS / U-06 using rivets AN426AD4-4.
Step 3 of page 21iS / U-04 was carried out, which consists of adjusting with pieces the pieces F-0125B-1, F-01204J, F-1205A, F-120P-L and R, etc. to simulate the final assembly and able to adjust both pieces, to later be riveted.
|
|
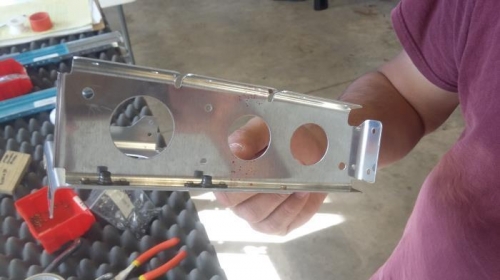
Nutplates
|
|
nutplates
|
|

Riveting
|
|
|
|
|
|
|
|
|
Copyright © 2001-2024 Matronics. All Rights Reserved.
|