
|

|
|
|
GA Aerospace’s Web Site
|
Date: 3-12-2018
|
Number of Hours: 6.00
|
Manual Reference:
|
Brief Description: Page 20 iS-06
|
|
Team: Alvaro Lopez, Juan Isiordia, Angel Rodriguez
Abscent:0
We continued with the step 4... in this we attached the pieces F-01204G-L & R to F-01204-1 using a C-clamp and a small piece of wood, this help to keep the pieces adjusted, and then perforate them correctly.
The step 5 was carried out, in this the pieces F-01204G-L & R, F-01204F-L-1 & R-1 and F-01204-1 were drilled, using a drill #30. then we remove the C-clamp and wood block, installed clecos in the holes, again drilled the ramaining holes and removed the pieces. The steps 6, 7, 8 and 9 were finished.
Continued with the step 10, we clear way chips, deburr and re-install the pieces F-01204-1 and F-01204G-L & -R with clecos, then we realized the step 11, we riveted the pieces F-01204G-L & R, F-01204F-L-1 & R-1, F-01204D-1 and F-01204-1 as shown in the page 20iS-06, using rivets CR3212-4-8.
Notes.- in this step we placed a rivet incorrectly, a new one was re-installed. We used the process of removing this type of rivets.
To end the day, step 12 was completed, in which we countersunk in the four holes near the central line of F-01204D-1 for the installation of the rivet AN426AD4-9.
|
|
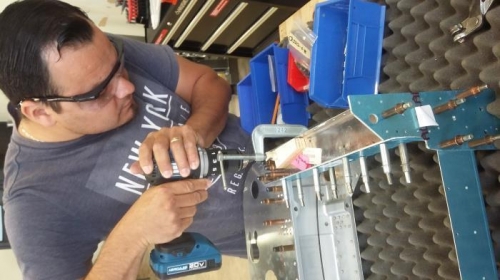
Drill #30
|
|
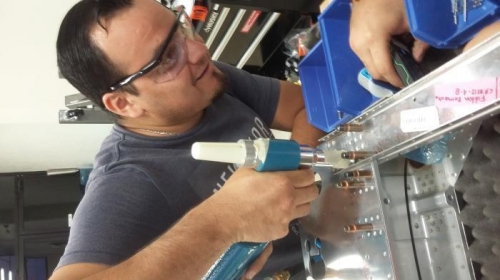
Pop rivet
|
|
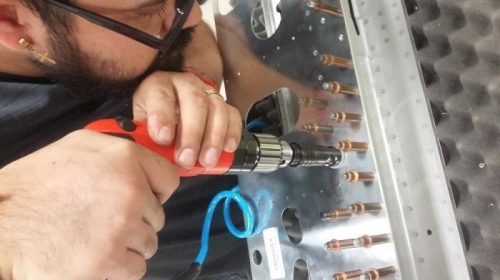
Countersink
|
|
|
|
|
|
|
|
|
Copyright © 2001-2024 Matronics. All Rights Reserved.
|