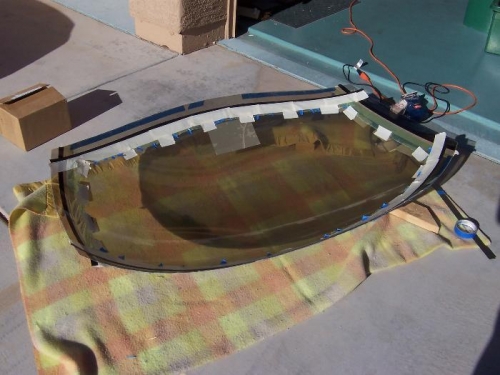
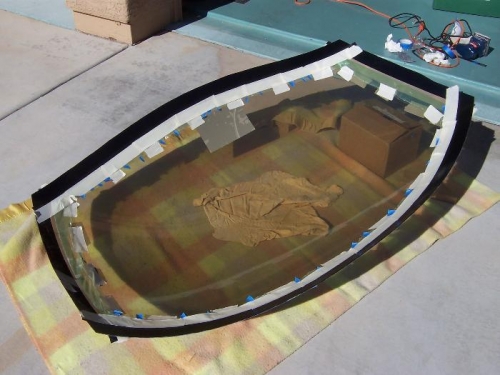
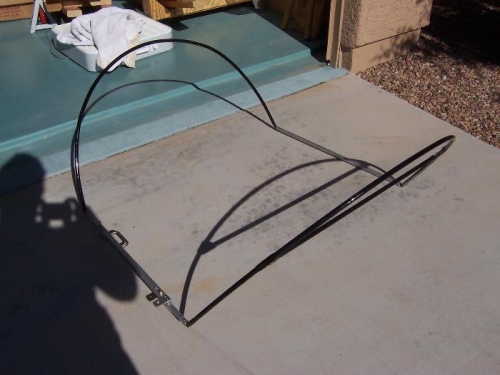
Sanded the edges of the canopy with 400 grit on the palm sander. Peeled back the edges on the insides about 2" and marked off a 1 3/4" wide strip. Put electrical tape along the edge of this, and other masking tape as required along the plastic coating the canopy to hold it back. Forgot to mark the sides, so I put it back on the plane and clecoed the side trims in place. Ran electrical tape on the canopy along the edge of the side trims to mark where they rest on the canopy. Pulled it back off. Sanded the sides to be glued with 400 grit by hand. Cleaned this off with water on a paper towel. Got the canopy frame out and ran over the forward and aft bows with scotchbrite. Cleaned this off with a dry paper towel. Did the same to the inside of the side trims. Ran a tape line inside the side trims to cover the part that rivets to metal. Got out the Sika cleaner. Ran that over the side trims, then the canopy frame, then the canopy. So now it's all cleaned with the right stuff. Got out the Sika primer. This is a very fast-drying rubbery kind of stuff. Painted it on the side trims, then the canopy frame, then the canopy on the sides to be glued (outside of the sides, inside at the forward and aft sides. Let that dry a while. Peeled back the masking along the lower ends of the forward and aft sides because these go against the canopy frame.