
|

|
|
|
Sonex 815 Build Logs
|
Date: 8-29-2007
|
Number of Hours: 1.00
|
Manual Reference: D01
|
Brief Description: Canopy installation
|
|
Drilled the canopy hinge to the fuselage, to final size, and deburred the hinge.
Rolled the fuselage out to get to the canopy box. Laid out the size of the fuselage on the table - 36 1/2" wide at the front, 40" wide at the rear, 25" between the two stations. Screwed blocks to the table at these points, then screwed axial strips of MDF to these to form "rails" down each side. Got out the cinch straps. Put the canopy material between the rails to start to get it used to being in this shape. Used the cinch straps to hold it there. This must be the new "sonplex" canopy, because this stuff is down right floppy. It presented very little resistance to being bent between the rails on the table, and is so floppy that at the aft end, it doesn't even hold its own weight - it sags! This is very unlike the canopy I had for number 0042 8 years ago. That stuff was crackly crumbly and was broken in the shipping box. I've decided to glue this canopy because I was so afraid of drilling holes. Now I'm not afraid of drilling holes in this stuff - I'm afraid of tapping the holes in the canopy bows given my traumatic experience with tapping the windshield bow. Plus I think using adhesive will look slicker with a 1.5" black band all around the perimeter. Ordered the sikaflex from Jamestown distributors (a marine supplier). It's not cheap - about $90 with shipping for the set. Cheaper than buying and shipping another canopy, though.
|
|
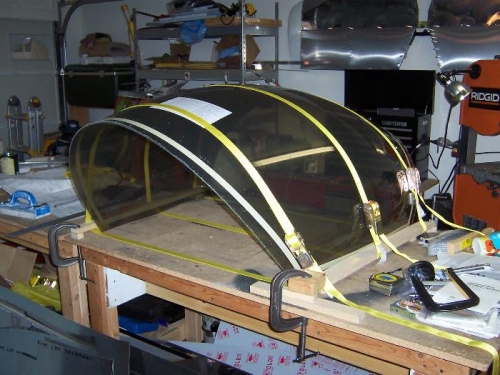
Strapped to the table.
|
|
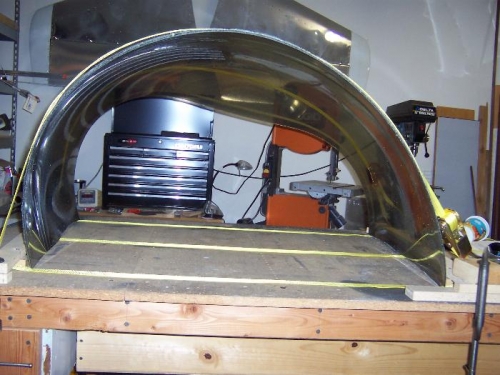
This stuff is so squishy, it doesn't hold its own weight.
|
|
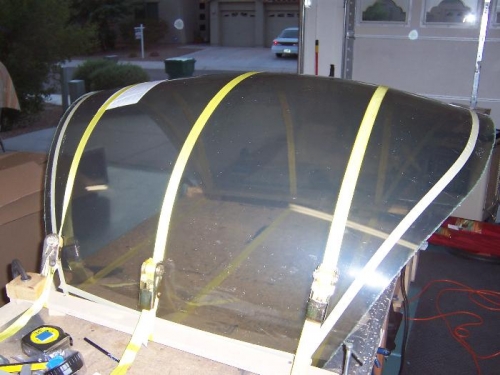
Another view - aft end on the right.
|
|
|
|
|
|
|
|
|
Copyright © 2001-2024 Matronics. All Rights Reserved.
|