Brief Description: Day 2 of Right Leading edge sealing
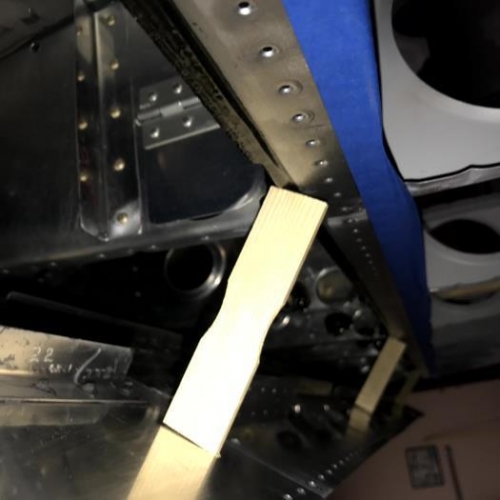
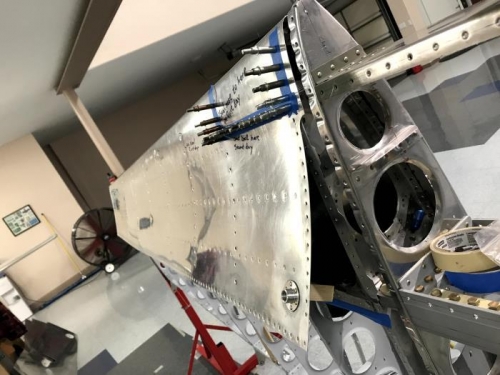
Day 2 of the sealing process involves holding the bottom surface of the skin back so that access can be gained for riveting the top surface. This is shown in image 1. Next each cleco is removed one at a time, and the hole is enlarged from 3/32 to 1/8. Then a NAS 1097 (oversized rivet) is driven. Image 2 shows all the rivets in the ribs have been set. (The end rib rivets will be set after the wing is removed from the fixture. Image 3 shows the extent that I ran sealant around the leading edge and onto the bottom. This seemed logical to me to ensure that the sealant was forming a good seal at the critical tip location. All of this activity was easily completed without the need for an assistant during the bucking process.
Supports holding the skin open for riveting access