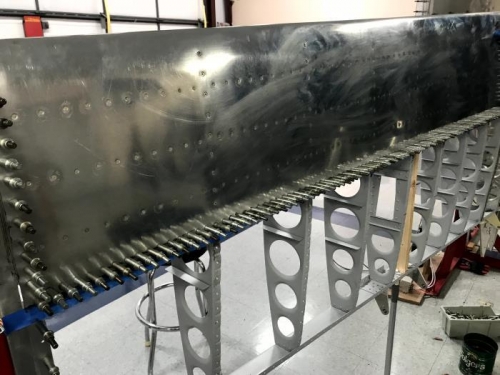
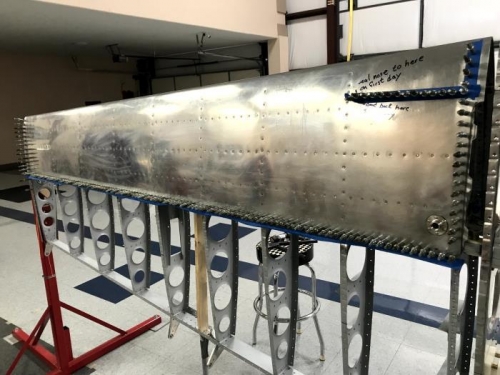
Day 3 of sealing the Right-wing leading edge involved closing the lower surface. I did not take many pictures because I was busy making messes. Step one is to paint the skin and rib flanges (both sides of rib flange) with sealant. The spar was also coated making sure to get all the critical leak paths in the tip ribs. Next clecos were installed in every hole. Then rivets were set in the spar similar to what was done on the top side. The next step was to remove clecos one at a time from the ribs and enlarge the holes so that oversize Cherry rivets could be used. The rivets were then dipped in sealant and pulled. The hope is that the sealant in the rib inner flange flows into the freshly dipped rivet. (I worry about how well this will work. I would love to have access after pulling the rivet to encapsulate it, but that is not possible)