
|

|
|
|
Harteveld, Chinook Plus 2
|
Date: 11-13-2016
|
Number of Hours: 18.00
|
Manual Reference: Steps 45 thru 54
|
Brief Description: Control Systems
|
|
Major push over a long weekend to get the control systems in place. Less urgent than originally anticipated, since I was able to find a shop configuration that allows me to have the plane at full length with the door still closed.
Started with attachment of the tailwheel, a significant upgrade in the Aeroplane Manufactury kit from the one in the old instruction manual. Little confusion about bolt size, so a new bolt is on the way to me.
Step 45 is about hooking up the elevator cabling to the front and rear sticks. Pretty tedious I've also resigned myself to not installing cotter pins ANYWHERE at this point, because I'm tired of having to remove then when I make an adjustment. Steps 46 and 47 carry this process forward, with installation of a pulley.
Steps 48 throuth 51 shift focus to the vertical stabilizer and rudder. All parts fit together nicely, with a bunch of 1/8" riveting for the gussets. Small crisis on my hand riveter, but I was able to get a new one that seems okay. My rivet removal technique, in the case of a misfire, is laughable. Definitely need some help in how to do that more effectively.
Steps 52 through 54 focus on connection of the rudder cabling to the pedals, front and rear. A fair bit of tediousness in this, as well. I'm trying to leave everything loose until I truly understand how it all fits together, and will tighten/cotter pin all component at the end.
Just a few more steps to go and I will have the basic control hookups in place. Fun weekend!
|
|
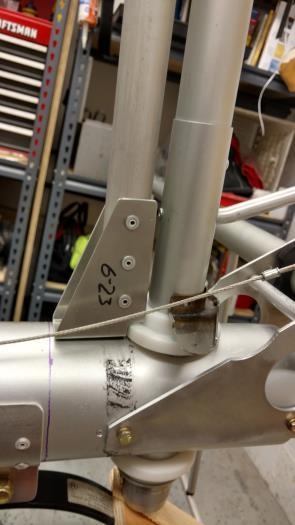
Horizontal and Vertial stabs junction
|
|
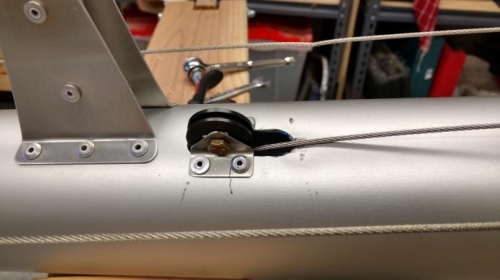
Elevator cable assembly pulley
|
|
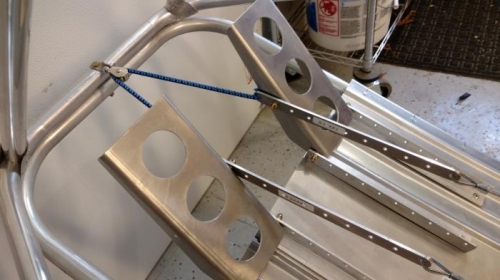
Rudder pedals with bungee interconnect
|
|
|
|
|
|
|
|
|
Copyright © 2001-2024 Matronics. All Rights Reserved.
|