
|

|
|
|
Harteveld, Chinook Plus 2
|
Date: 10-23-2016
|
Number of Hours: 4.00
|
Manual Reference: 32, 33, and 34
|
Brief Description: Front Seat Floor and Sides
|
|
Chores and company last weekend. What little shop time I had was devoted to completing a multi-position ladder for my son's new loft. First responsibility once in the shop this weekend was building an insulated plug to cover the cieling-mounted exhaust fan. Because its getting coooooold.
After the plug was completed, I dove into steps 32, 33, and 34 on the 'Nook. Fun times, these, with big, meaty pieces coming together to form the outlines of the front cockpit. Essentially, Step 32 consists of constructing the structure of the floor. Some pretty complex shapes and fittings here, all fit together beautifully from the factory. Step 33 has this floor being hung on the front of the existing fuselage. Finally, Step 34 consists of building-up from that floor with a complex bent part that will form the sides of the front 'pit. Particularly exciting since that is what provides the distinctively 'Chinook' shape. Last step is to connect floor to sides, which I rushed through after receiving the 'okay time to be done for the signal' signal from my lovely wife.
Big sigh of relief when I realized I can still fit the full-length fuselage in the garage along with the wings in their cradle.
|
|
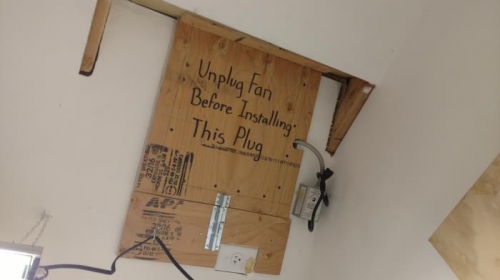
Attic fan plug. Its getting coooold
|
|
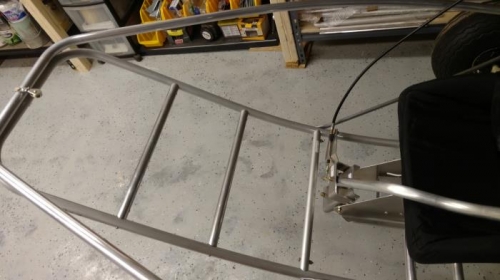
Front seat floor
|
|
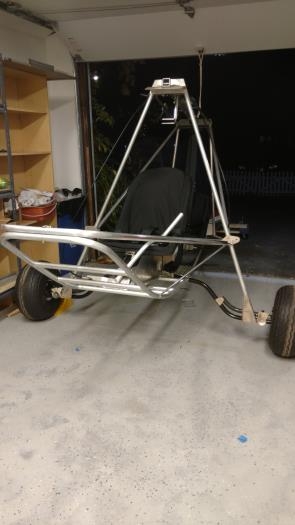
Front seat floor and sides
|
|
|
|
|
|
|
|
|
Copyright © 2001-2024 Matronics. All Rights Reserved.
|