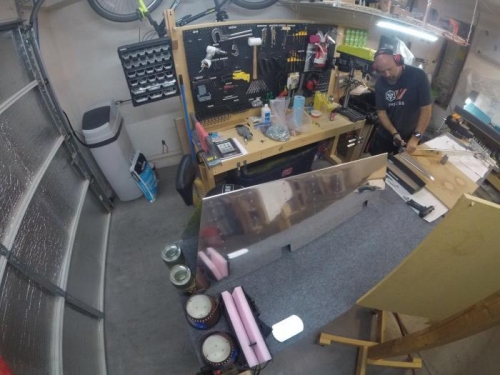
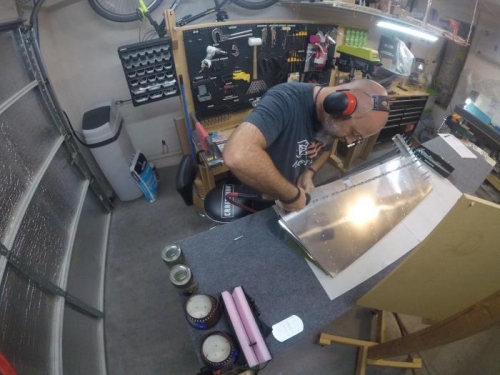
Brief Description: Right Elevator counter weight and ctrl horn
Prepared the E-703 and E-704 ribs by fluting the flanges until the parts rested flat when set on the web on a flat table. Cleco'd the right E-703 and E-704 together and then to the right E-702 spar and drilled the attachment holes with #30 drill bit. Removed E-703/E-704 from the E-702 spar. Cleco'd E-713 counterbalance skin and E-714 counter weight to E-703/E-704. Started drilling with #12 bit in hand drill on lowest speed setting until the bit cleared E-713 and made a divot in the lead counter weight. Then removed the counter weight from the assembly and clamped it to the drill press to complete drilling the two screw holes all the way through. Finally reattached the counter weight to the assembly and finished drilling through the E-703/E-704 rib flanges using the counter weight holes as a guide. Removed the counter weight once again and cleaned and deburred the holes, then set the counter weight aside for later. Cleco'd the E-703/E-704/E-713 assembly to the right E-702 spar. Cleco'd E-709 root rib to the right E-702 spar and drilled the attach holes with #40 bit. Cleco'd the spar assembly to the E-701-R elevator skin. Removed E-702 to E-709 cleco's and attached WD-605-1-R right elevator control horn. Drilled #30 the elvator control horn to the spar and root rib. Note: The fit was extremely tight on the root rib - as with the previous elevator build these holes in the root rib may end up obrounded and a slightly longer rivet may be called for to fill the extra space. I was hoping to avoid this, but there it is. I don't think this will be an airworthyness issue. It is just annoying.