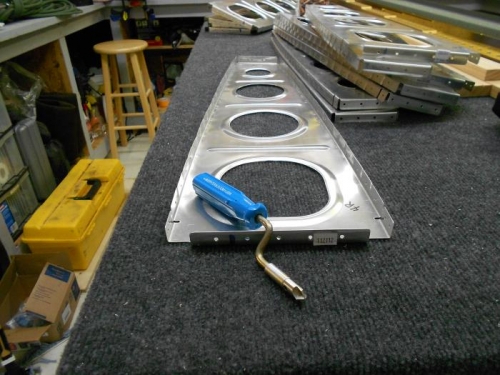
Brief Description: Deburred Main Rib Flanges & Drilled Conduit Holes
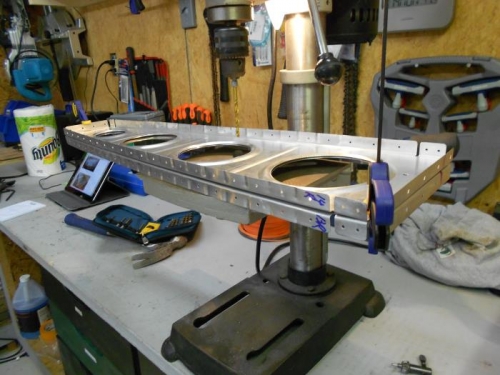
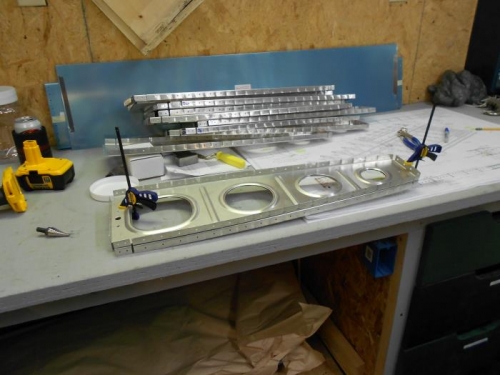
Today I used the deburring tool to finish deburring the flanges of the right wing main ribs. I also peeled and de-gummed all of the part number labels on all ribs. After doing some research on where to route the wiring conduit for the wingtip & landing light lighting, I marked and drilled all of the holes in the ribs to 5/16 inch to start. I will then widen those holed with a unibit on the next session. All of the holes were drilled on the bottom part of the ribs just aft of the first lightening hole. I used clamps to hold the ribs aligned and tight. In all cases, the most rear tooling hole lines up perfectly on all ribs....but not in all cases does the front tooling holes align. This is because some ribs are shorter than others. I used a drill press to drill all holes. Next session will be to complete all conduit hole drilling, deburring, and prep for priming & priming the respective ribs. We have decided to just prime the flanges of the ribs inside and out only to save a bit of weight.
Used deburring tool to deburr right wing main rib flanges
Used clamps to hold ribs together to drill conduit holes
Match up rear tooling holes then clamp together to drill conduit holes