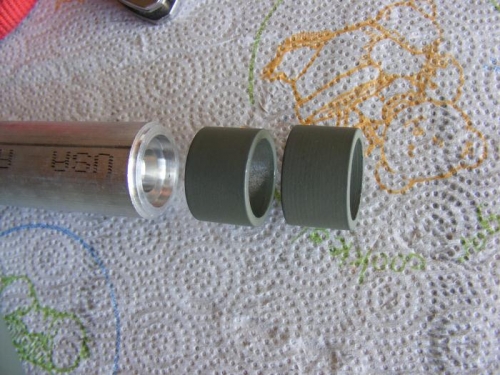
Continuing the torque tube spacer story, picture #1 shows the completed (and primed) spacers along with the raw 1" rod stock that they were made from.
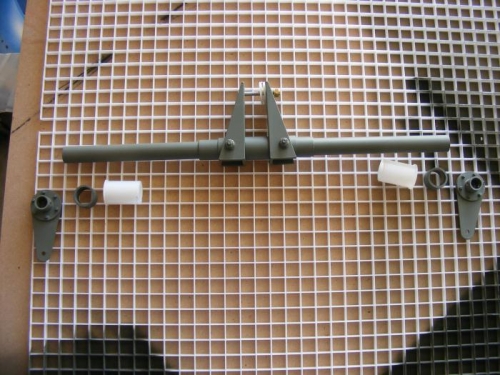
The second picture shows the various parts of the torque tube layed out in their respective locations. The control horns are on the outside ends, then comes the spacer that I made, nylon bushings (which the torque tube rides on) and, above it all, the torque tube itself.
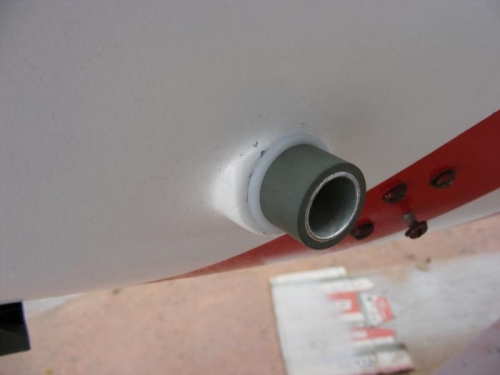
The third picture shows the torque tube poking out of one side of the fuselate with the spacer in place, but not yet secured. An elevator control horn is not shown here, but will be added later and secured then.