Brief Description: Nosewheel Pivot Assembly - Part 1
Starting with installing the nosewheel. The first part is to attach a reinforcing plate and trim opening to match.
This is an aluminum plate. As you can see, I have primed it with a self-etching primer. This installation went fairly well. One thing to note is that the parts list shows using AD64H rivets. Actually, the included rivets were SD68BS. As you can see, I have primed them too.
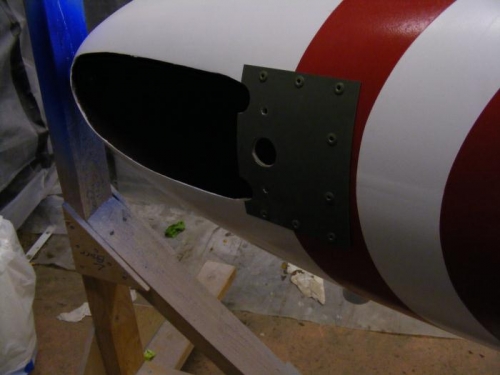
External view of the attached reinforcing plate at the aft end of the nosewheel opening.
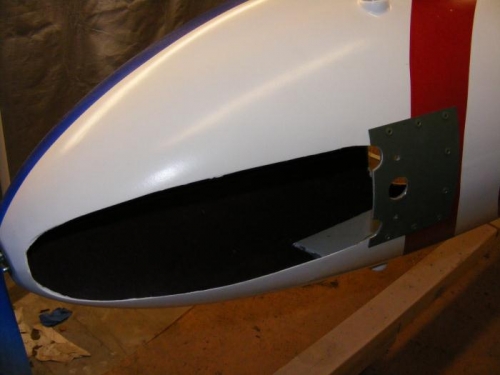
Another view of the reinforcing plate.
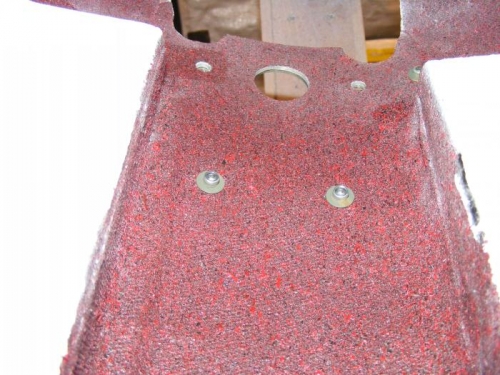
This is an interior vew of a couple of rivets for the reinforcing plate as the poke into the trough.