Brief Description: Back to Riight Side of Stabilizer
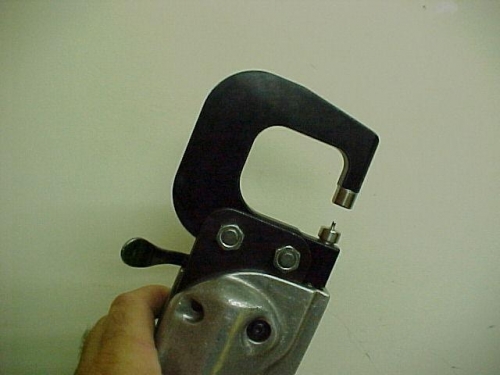
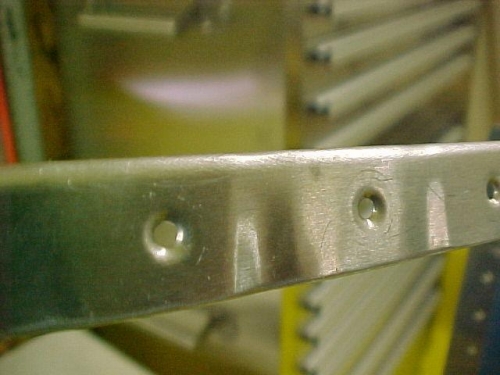
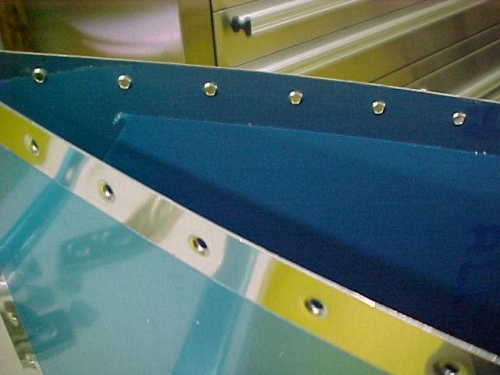
Tonite, after match drilling all the holes on the left side, I went back to right side of the stabilizer. I deburred all the match drilled holes. I then used a soldering iron (with the tip ground smooth) to cut the blue plastic on the wings. I then removed the plastic from the areas around the holes (see image 3). I finally got to play with my pnuematic rivet sqeezer. I inserted the dimple dies (#40 or 3/16") and tried it out on one the rib flanges. It didn't do much, so I shimmed the die with a washer. That did the trick. I checked it with a rivet and the rivet set in nice and flush. I did all of the rib flanges and the edges of the skin in about 10 minuits! I'm sooo glad I have the right tools. The last hole in the nose rib flanges was a tight fit, so I could not use the squeezer. I did, however, remember that I bought a 3/ 16" vise grip dimpler....worked perfectly (like I said...gotta have the right tools). I cleaned up and shut down the compressor a little before 8:00 so I could help Wendy set up her booth at the Trenton Street Fair. My DRDT-2 dimpler did not arrive yet, so I checked the tracking for fed-ex and found out delivery was pushed back till tomorrw (Friday). I can dimple the rest of the skins this weekend and finish up the left half of the stabilizer. After some priming, I will finally buck my first rivet.......Can't Wait!!!