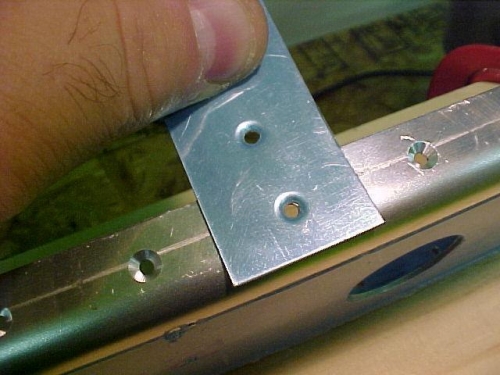
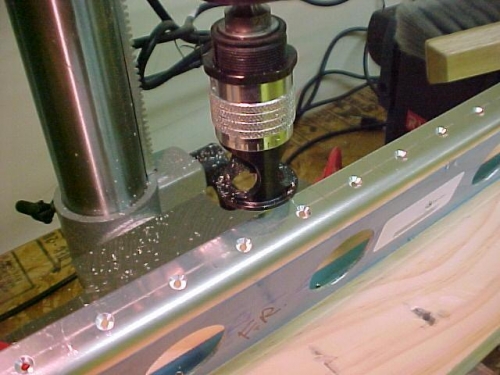
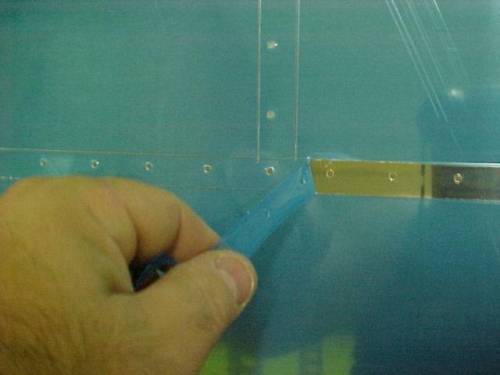
This morning I started by cleaning up the shop. I also brought the shop vac up from the wood shop and will keep it here in the shop from now on. I finished the dimpler set-up and was ready to go. I used the soldering iron method to remove part of the plastic skin protector. It worked out quite well. I then set up the dimple dies in the DRDT-2 dimpler and began to dimpler the right half of the stabilizer skin. I worked very well and there were only 3 or 4 holes I could not reach. I did use the pop-rivet dimple dies that I bought from Avery. They worked out well. I did however do my FIRST MISTAKE!!! I was dimpling the skin when the skin popped out of the male dimple die just as I brought down the arm and PRESTO......I punchured the skin and created a dimple right next to where it should have been. I did not freak out, because with all my researsh and reading, I know things like this are going to happen. I flattened out the dimple and will worry about filling the hole when I'm ready to paint. I continued working after lunch. I broke down the clecoed left half and deburred and dimpled. I then set up the countersink cage and began to countersink all of the spar flanges. I set the depth of the cage using a piece of dimpled scrap. once I had the right depth, I clamped on a few boards on the drill press to act as a jig, so the spar would stay straight and perpendicular to the drill. Worked great! I had to vacuum alot to keep all the aluminum shavings under control. All I have to do now is ready these parts for priming. I'm going to decide the priming method I will use this week, so I will set the HS parts aside and work on the Vertical Stabilizer tomorrow.