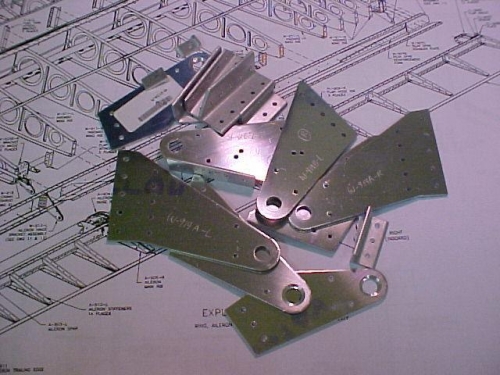
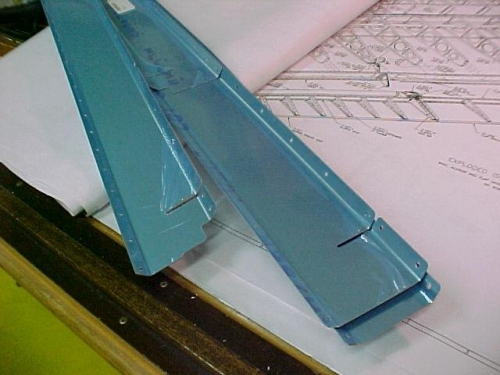
Tonight I was laying out the aileron skins and stiffeners. I was going to start match hole drilling when I changed my mind and decided to get the bracket parts and fairings done first. I first match drilled all the holes in the gap fairings. I then remove the fairings so I could work on the brackets. I drilled all bracket holes in common with the wing frame. I next pulled the bracket off the frame and finished the match hole drilling on the bench. I dismantled each bracked assembly and marked it with the electric engraver. I'm so glad I got this engraver. I mark each piece and I can still see the part numbers after priming. I don't have to worry about the mark coming off in the alumiprep, like sharpie marks do. Next I began to drill the flap brackets holes in the right wing ribs. I finally got to use the angle drill I bought. With the screw in bits, this worked great in the confined area I had to drill in. I attached the inboard and outboard brackets on with clecos in every hole. I then ran a string line from the outer brackets thought the center bracket to see if they match-up or need to be adjusted. Well guess what.....they matched-up perfectly! I love this kit!! If I get my last minute X-mas shopping done, I will work on the left bracket tomorrow.
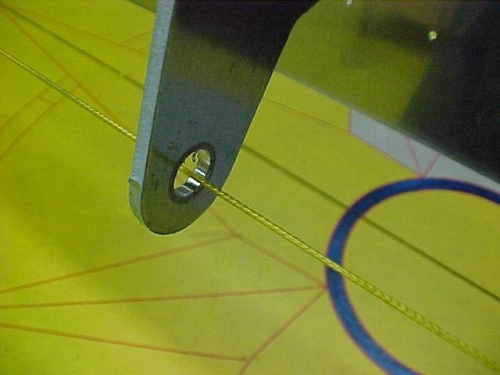
Middle flap bracket fits perfectly. The string is centerd on the hole.