
|

|
|
|
Building Juliette Whiskey
|
Date: 8-5-2006
|
Number of Hours: 8.50
|
Manual Reference: Section 6
|
Brief Description: Second priming session
|
|
This morning I was on the job by 8:30.....I started by deburring to 2 skins. I then dimpled all the parts and the skin that was not dimpled for the stiffeners, I removed all the blue protective plastic from all parts except the outside skins, which I will leave on till first flight. I also needed to countersink both sides of the AEX angle piece (trailing edge of rudder). I cut a jig on the table saw to allow the countersink to hit the AEX at a perpendicular angle. This worked out great and I did both sides in no time. About noon I decided to take a break. At 2:30 I began to degrease all parts. Then onto Alumiprep....I did remember to dilute the alumiprep this time. After scrubbing each part with a scoth-brite pad in alumiprep, I prepared the alodine. I used the small wall paper trough for the small parts and did the seal-a-meal bag for the larger parts. I used the left over alodine from the last session. I produced a very lite color, so I will dispose of it after this session. After soaking the parts in water I layed them all out on the chicken wire rack to dry and began to prepare the primer. Once again, stir primer part A and add equal parts to primer B. This 2 part epoxy primer is the best and is as hard as nails once dried. I doned on my paint suit, googles and respirator. After a half hour, I loaded the paint gun an shot the top side of all the parts. After about 10 minutes of drying, I turned over all the parts and hit them with the gun. All parts were dry and ready to move in 15 minutes. Clean-up was easy, since I used disposable cups and sprayed acetone thru the gun to clean it. All parts are primed and ready for assembly......tomorrow.
|
|
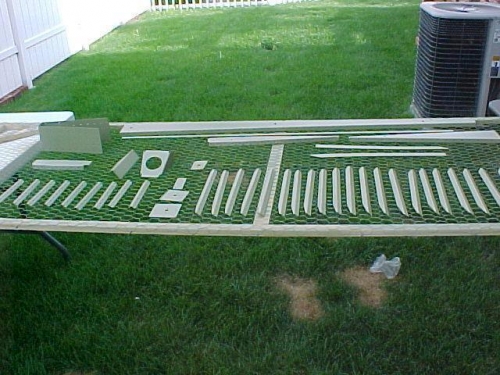
After Alumiprep, everthing layed out for priming
|
|
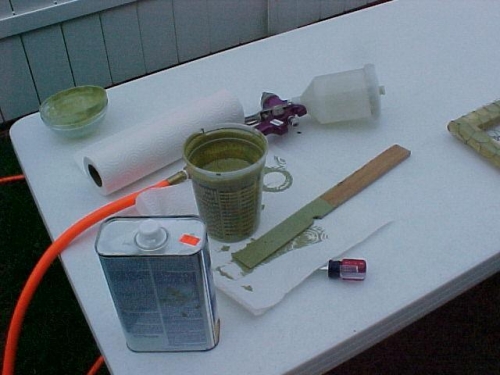
Primer - ready to fill gun
|
|
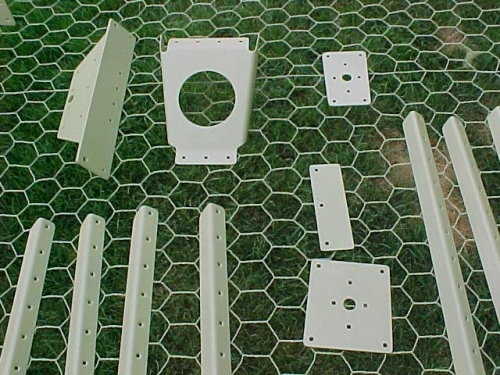
Parts drying after shooting with primer
|
|
|
|
|
|
|
|
|
Copyright © 2001-2025 Matronics. All Rights Reserved.
|