Brief Description: Rotating Fuselage Stand & Control Sticks
OK....I changed my mind. After some research of other builder's website and some thinking....I decided to not test fit the wings until later in the build. I have a few reasons for this. One, I still have not riveted the bottom skins on the wings. I have been waiting to get the lights and auto pilot servos installed before I rivet them on. I also looked out the window this morning and there was about 3" of new snow. There are many things I can do before I mount the wings, and I would rather it be nicer weather outside, since I will have to have the garage door open when I test fit the wings.
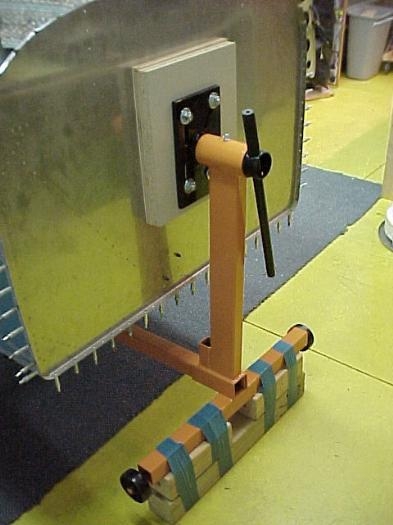
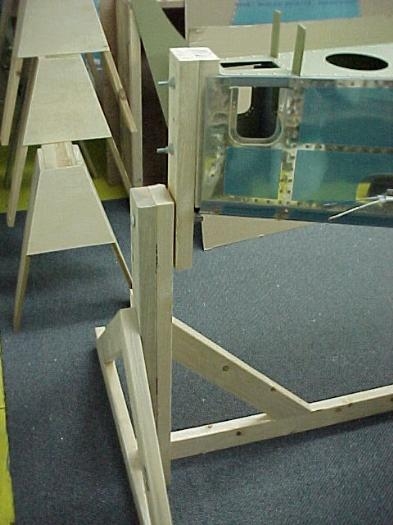
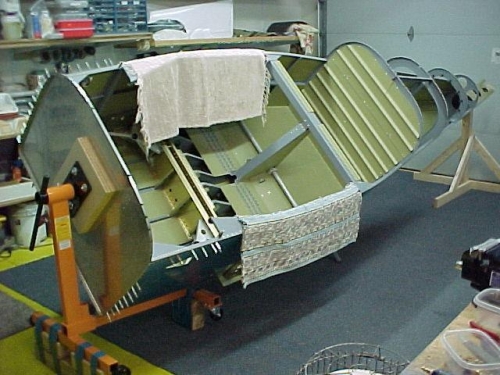
I also decided to build a rotating fuselage stand! I went to Harbor Freight this morning and they had the 1000 lb engine stand on sale for $49. I also had a 20% off coupon I got in my e-mail. I then went to home depot and picked up 3 - 2x4 and some nuts & bolts. For the front mount, I decided not to use the engine mount hole, because I don't want to drill these out without having the mount in place. I decided to sandwich to firewall between a few sheets of plywood through the square hole. I needed to get the front stand about 5 inches higher in order to clear the steps. I used a 2x4 frame for the back pivot mount. I made sure the fuselage was level when I atttached the rear stand. The Fuselage rolls very easily and after I cleaned up the shop and move everything back in its place, I decided to begin mounting the control stick assembly. By turning the fuselage 45%, I was able to reach in and do the work very easily! I highly recommend a rotating fuselage stand!
The Front of the stand is the Harbor Freight Engine Stand...
The Rear mount is 2x4's.
The Fuselage can rotate easily and It will lock into place