Brief Description: Engine Exhaust and Baffling with the Rubber Gap S
Oct 6th 2012
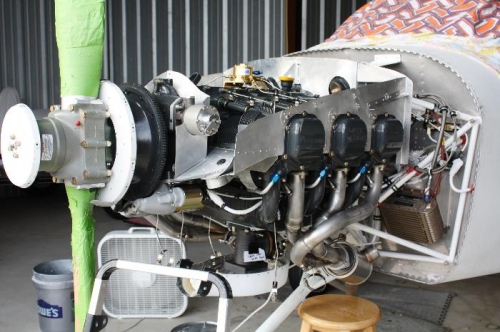
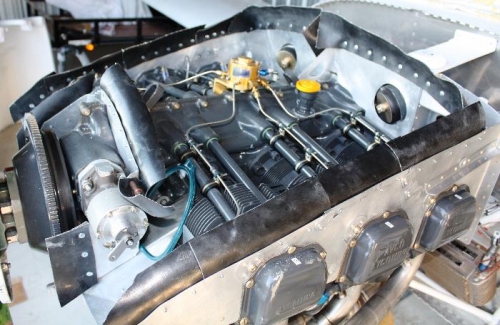
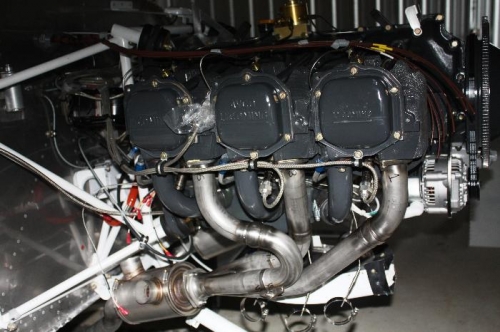
I continued with the installation of the Vetterman’s Exhaust System. This is a very nice, quality built, all stainless steel 3 into 1 system. Following the instructions I installed the header stacks on to the exhaust ports and torqued to 180 in/lbs and connected the mufflers. I still have to add the hanger hardware to complete the exhaust install.
Now I am completing the Engine Baffling and the Rubber Gap Seals. You slowly cut enough off the top of the Baffles until there is 3/8 to ½ inch gap between the Baffle top edges and the Top Cowl surface. Using your finger and a mirror and flashlight and checking for the proper distance. And after enough On-Off of the Top Cowl and checking I achieved the desired results and moved onto adding the gap seal material. My idea of cutting 3 inch strips and leaving 2 inches above the Baffles worked fine. On the curved surfaces I make cardboard templates and then cut the Gap Seal Material to achieve the correct results. I riveted at about 1.5 inches intervals and cut the Baffle Seals so that they have an inward beginning angle. This is a time consuming step in the building process. But at least it’s done and I can move onto the next item.