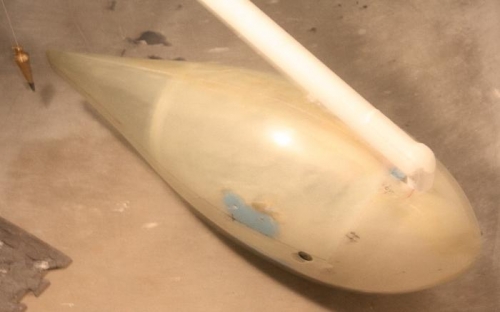
Brief Description: wo U-1013A and B Wheel Fairings together and using
SECTION 48-19
Nov. 25th, 2010 {Thankgiving Day}
Step 1 … I clecoed the two U-1013A and B Wheel Fairings together and using a #28 size drill bit I drilled out the holes around the perimeter one at a time and clecoing as I go. Then I countersunk the #28 holes, very carefully as the fiberglass is very thin. Step 2 … I cut a piece of fiberglass and riveted it to the top of the Rear Nose Wheel Fairing with AN426AD3-4 rivets directly behind the WD-1017 Nose Gear Leg. Then I added the K1000-06 nutplates with AN426AD3-6 rivets. And Final Drilled #19 and countersunk for AN50-7C832R8 on the Rear Nose Wheel Fairing where they connect to the U-1013C-L/R Nose Wheel Faring Brackets. Step 3 … Now I attached the U-1013C-L/R to the Rear Nose Wheel Fairing with AN507C832R8 stainless screws. Step 4 … I attached the U-1013B Nose Wheel Fairings Rear onto the axle by sliding in the slots provided and added the Tow Attachment screw with the proper washer and lock washer. Then I added the U-1013A Nose Wheel Fairing Front and secured with AN507C632R8 screws.