Brief Description: U-1020 L/R and the U-1019 L/R Gear Leg Fairings
SECTION 48-11
Nov. 14th 2010
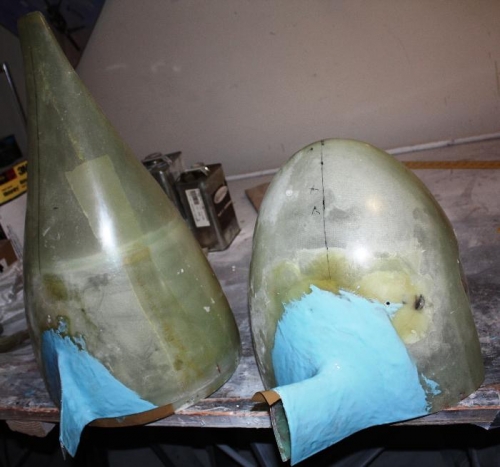
Step 1 … I located the U-1020 L/R and the U-1019 L/R Gear Leg Fairings and added some brown packing tape around where the Gear Leg Fairing will attached to the aircraft fuselage and U-1001 L/R Gear Leg and Wheel Fairings. Then I attached with clecos and clamps to the U-1001 L/R Gear Leg. After checking and clamping securely the U-1019 L/R Gear Leg Fairings I added two layers of 9 oz. e-glass cloth to reinforce the U-1019 L/R Gear Leg Fairings. Then after curing I removed and began the process of trimming and sanding to correct fit. This does take a couple of days working a few hours at a time.
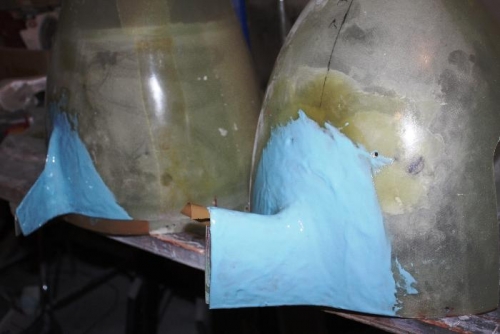
Step 2 … Placed the U-1019 L/R Gear Leg Fairings onto the Wheel Fairings after removing the brown packing tape and sanding the surface and checked for correct fit again. Then I added some epoxy and flox mixture to secure the bottom L/R Gear Leg Fairings after splitting them into a Front and Rear pieces. These pieces of Front and Rear are going to be permanently bonded to the Wheel Fairing. This is different from the Van’s plans but other Rv-10 builders are doing the same.
Step 3 … Not necessary as I am permanently bonding the Lower U-1019 L/R Gear Leg Fairings to the Wheel Fairings.
Time about 6 hours because of all the fiberglass final finishing