Brief Description: Section 34 BAGGAGE AREA … Page 34 -6 Steps 1 to 7
Section 34 BAGGAGE AREA … Page 34 -6 Steps 1 to 7
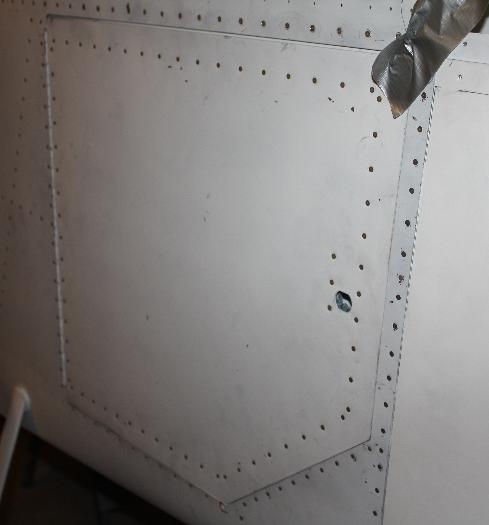
Step 1, After removing the Baggage Door Assembly from the Fuselage Frame hole cleco the F-1058 Hinge frame to the two holes previously drilled and then I match drilled all the #40 holes into the F-1060 Hinge.
Step 2, Then I countersunk the previously drilled #40 holes for AN426AD3-3.5 rivets.
Step 3, Riveted the Hinge to the Hinge Frame.
Step 4, The plans say added weather stripping or a seal here but I am waiting until after painting.
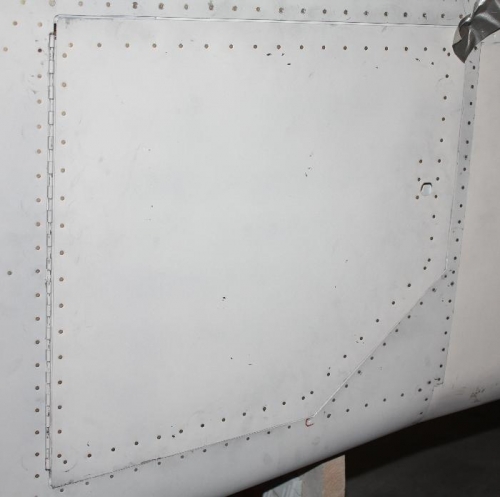
Step 5, Riveted the F-1058 Hinge Frame to the Fuselage using rivets called out for in figure 2.
Step 6, Skipped this step because I did not removed the hinge pin to rivet the Hinge Frame.
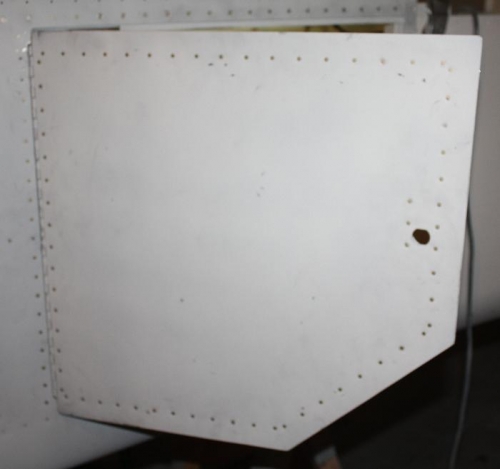
Step 7, After locating the stainless steel F-1061 Striker Plate and AN525-10R7 screws I install correctly into he F-1031 Upper Baggage Door Seal Channel.