Brief Description: Section 34 BAGGAGE AREA … Page 34 -4 Steps 1 to 9
Section 34 BAGGAGE AREA … Page 34 -4 Steps 1 to 9
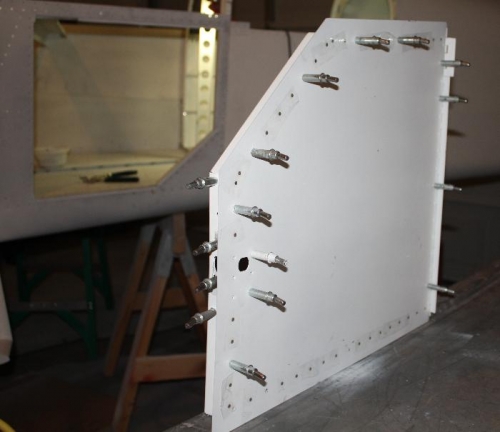
Step 1, Now I disassembled the entire assembly.
Step 2, Machine counter sink the holes in the F-1060 Hinge assembly fir a #40 flush rivet.
Step 3, I dimpled all the #30 and #40 holes in the F-1059F Close-Out panel and the Frames that match.
Step 4, I deburred, removed the alodine coating with Scotch-Brite, cleaned with Acetone and primed with DTM primer all the Door Assembly Parts.
Step 5 to 7, I riveted all the Door Assembly Parts with AN426AD3-3.5 rivets as described in figure 1. Step 8, Installed the Key Lock and F-1062 Lock Latch as described in figure 2. And placed two ½ inch layers of Double Insulated thermal and sound protection insulation to fill the cavity between the skins and give the door some feeling of mass.
Step 9, Riveted the F-1059F Close-Out Panel to the Frames with CS4-4 rivets.