
|

|
|
|
Conrads X-10 Build Log
|
Date: 11-9-2009
|
Number of Hours: 4.00
|
Manual Reference: 32 -5Steps 1 to 11
|
Brief Description: Section 32 TAILCONE ATTACHMENT … Page 32 -5 Step
|
|
Section 32 TAILCONE ATTACHMENT … Page 32 -5 Steps 1 to 11
Step 1, Now after carefully mating the tailcone to the Fuselage I separated and removed the assembly. And deburred all the holes as necessary.
Step 2, Dimpled all the holes in the flanges F-1006A, B, C, and D Bulkheads.
Step 3, Dimpled all #40 Skin Holes in common with the flanges F-1006A,B,C, and D Bulkheads.
Step 4, Dimpled the Aft most row of #40 holes in the F-1077 Mid Bottom Skin and the associated in the F-1078 Tailcone Fwd Bottom Skins.
Step 5, I dimpled the 10 holes along the diagonal the F-1070-L Mid Side Skin, the triangle. And I dimpled the corresponding holes in the F-1070-L Mid Side Skin.
Step 6, Dimpled the three holes in both sides of the F-1074 Tailcone Forward Top Skin that are in common with the F-1046 Mid Fuselage Longerons.
Step 7, This step has already been accomplished.
Step 8, I riveted the tow nutplates to the flange of the F-1006B Bulkhead using 4 AN426AD3-3.5 rivets.
Step 9, I riveted the F-1006 Bulkhead to the F-1006A and C Bulkheads using AN470AD4-4 rivets as shown in figure 1.
Step 10, Finally I riveted the F-1006B Bulkhead fitting to the F-1029-L/R Bellcrank Ribs.
Step 11, Now I reinstalled the Tailcone to the Fuselage first with clecos and then bolting the top of the F-1032 Tailcone Longerons with AN3-5A bolts AN960-10 washers and AN365-1032 nuts torque to 26 lb-inch each.
Time about 4 hours.
|
|
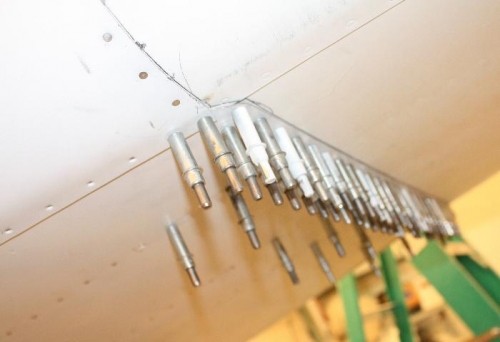
Bottom Tailcone and Mid Fuselage Skins Clecoed Together Ready for Riveting
|
|
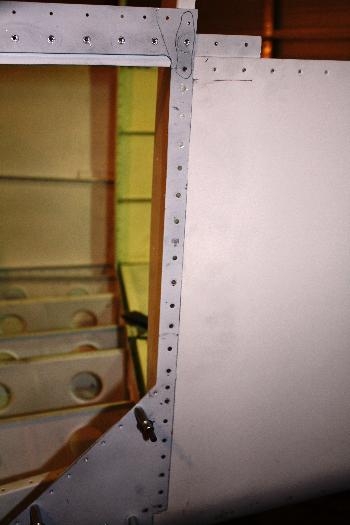
F-1073-L Tailcone Skin Riveted to the F-1006C Bulkhead Fittings
|
|
|
|
|
|
|
|
|
Copyright © 2001-2024 Matronics. All Rights Reserved.
|