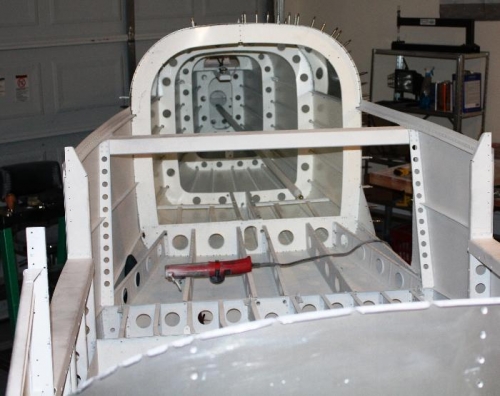
Section 32 TAILCONE ATTACHMENT … Page 32 -3 Steps 1 to 4 Attaching of the tail cone begins. Step 1, First I began by removing the F-1006B Bulkhead from the tailcone and clecoed this to the Fuselage flanges of F1020, F-1021 Baggage Ribs. Step 2, I clecoed the Tailcone Skins to the Mid Fuse Skins. The Mid Fuselage Skins must be on the outside with the Tailcone Skin on the inside. Step 3, Final drill all the #30 holes in common between the Aft Flange of the F-1020, F-1019 and F-1021 Baggage Ribs and the F-1006B Bulkhead. Step 4, Drilled with a #30 drill bit the 4 holes in the top F-1046R/L Fuse Longeron that fits on top of the F-1032-R/L Tailcone Longeron. Then I redrilled with #12 drill bit and places four AN3-5A bolts AN960-10 washers and AN365-1032 nuts. Time about 3 hours because I had a little trouble mating the cone to the fuselage.