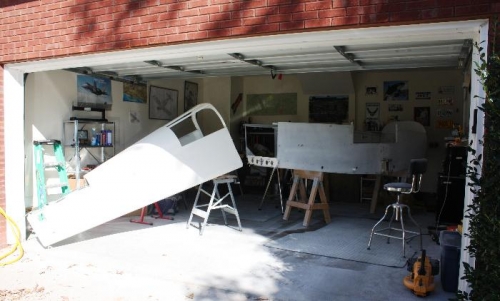
Section 32 TAILCONE ATTACHMENT … Page 32 -2 Steps 1 to 8 I spent most of the morning cleaning up the 2 car garage in order to be able to fit the 18 ft. length of the Fuselage and Tailcone assembly. The final analysis was that the X-10 would fit diagonally in the garage with enough room to walk around the Front and Aft, but no room for my Car. Step 1, These steps apply to both the Left and Right sides. I final Drilled the six #30 holes in common with the F-1006B and C Bulkheads. Step 2, Then I final drilled all the #40 holes at the top of the F-1006B Bulkhead. Step 3, This step was already completed at the factory. Step 4 I removed the F-1006B Bulkhead and deburred the holes. Step 5, Dimpled the four #40 nutplates attachment rivet holes. Step 6, Dimpled all the #40 holes at the top of the F-1006 Bulkhead. Step 7, Dimpled the three #40 holes in common of both the F-1006A and C Bulkheads. Step 8, Dimpled the two #30 holes in the F-116B Bulkhead and the corresponding holes in the Forward Flanges of the F-1029 Bellcrank Ribs. Time only about 1 hour but add another for cleaning up the garage and moving things around.
Making Room for the 18 Ft. Tailcone and Fuselage
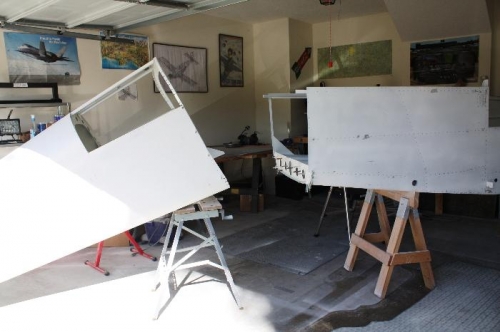
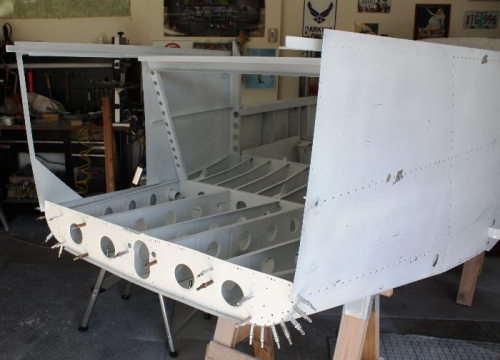
The Joining of the Tailcone to the Fuselage Begins