
|

|
|
|
Conrads X-10 Build Log
|
Date: 10-24-2009
|
Number of Hours: 6.00
|
Manual Reference: 31-5, Step 1 to 3
|
Brief Description: Section 31 UPPER FORWARD FUSELAGE ASSEMBLY .. Pa
|
|
Section 31 UPPER FORWARD FUSELAGE ASSEMBLY .. Page 31-5, Step 1 to 3.
Step 1, I deburred all that needed debured, removed the shinny surface with “Scotch-Guard”, cleaned with Acetone and then primed with DTM primer all of the following parts, F-1044A Fwd Fuselage Rib, F-1044D, E, & F Angles, F-1045-L/R Fwd Fuselage Ribs, F-1068A Sub Panel Center, F-1068B-L/R Side Panel Ends Sides and the F-1083 Control Cable Bracket. I then reassembled all after paint dried and then inserted the F-1044B Angle and F-1044C Spacer through the angle opening of the F-1068A Sub Panel Center.
Step 2, Added the K1000-08 nutplates using AN426AD3-3.5 rivets to the F-1083 Control Cable Bracket as shown in figure 2. After deburring and dimpling and priming.
Step 3, Using a 12” #30 drill bit I drilled through from the pilot hole near the middle of the F-1001B Upper Firewall Angle and into the top of the F-1001K Firewall Recess.
Time about 6 hours because of deburring and priming parts.
|
|
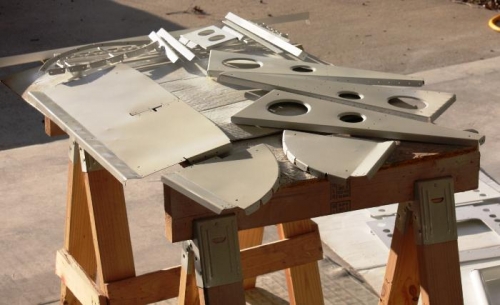
DTM Primmer Parts
|
|
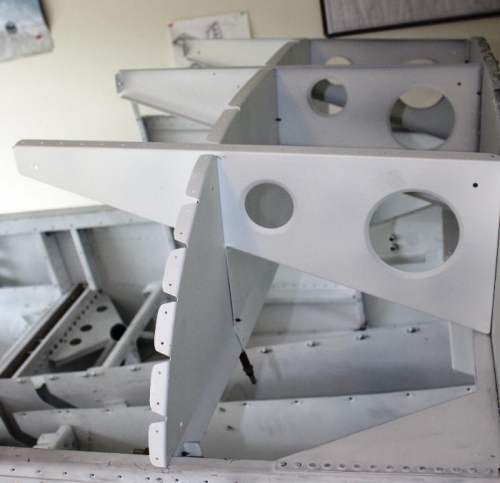
Sub-Panel and Fuselage Ribs
|
|
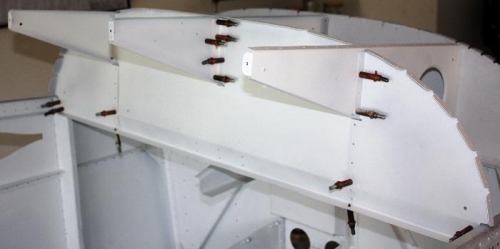
Sub-Panel Center and Ends F-1068A-B
|
|
|
|
|
|
|
|
|
Copyright © 2001-2024 Matronics. All Rights Reserved.
|